
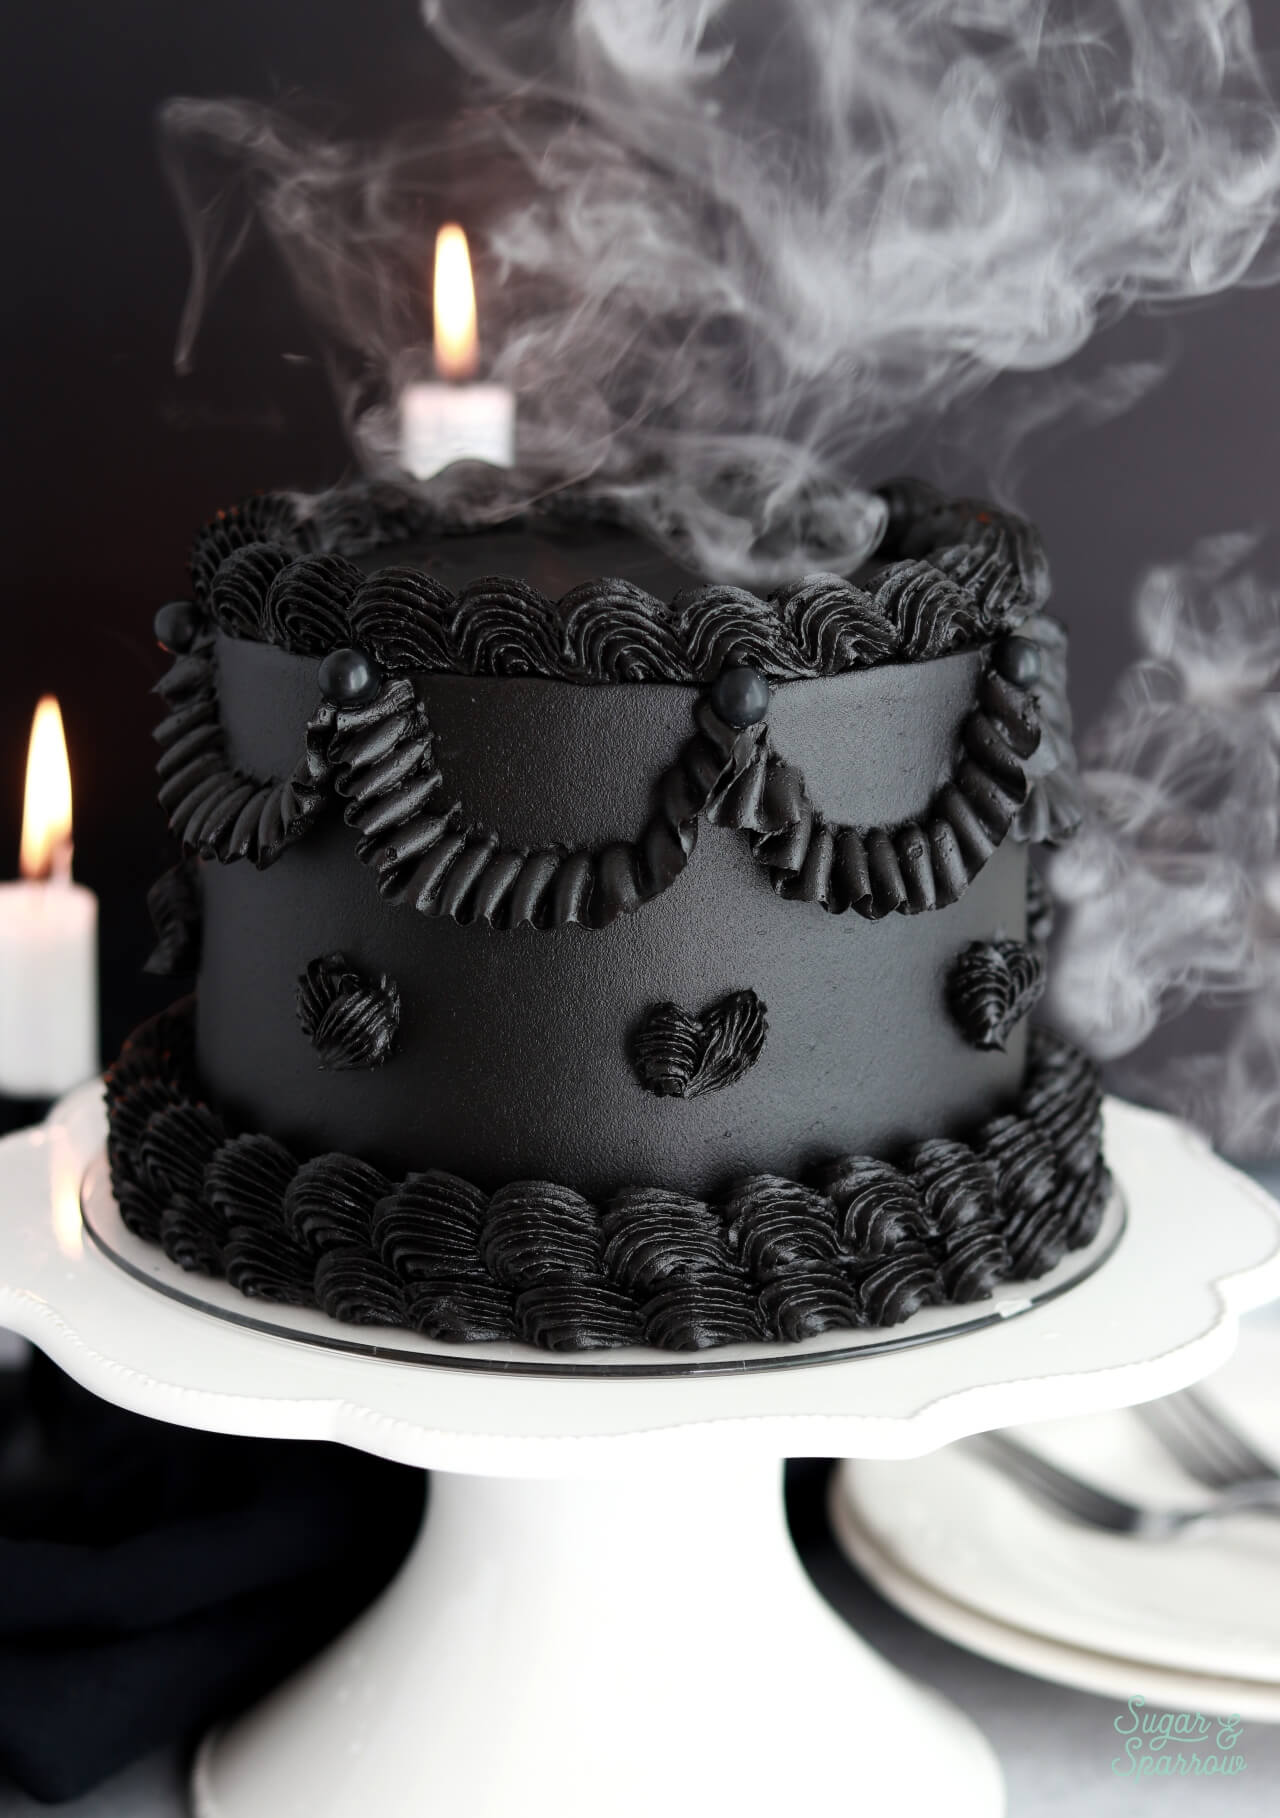
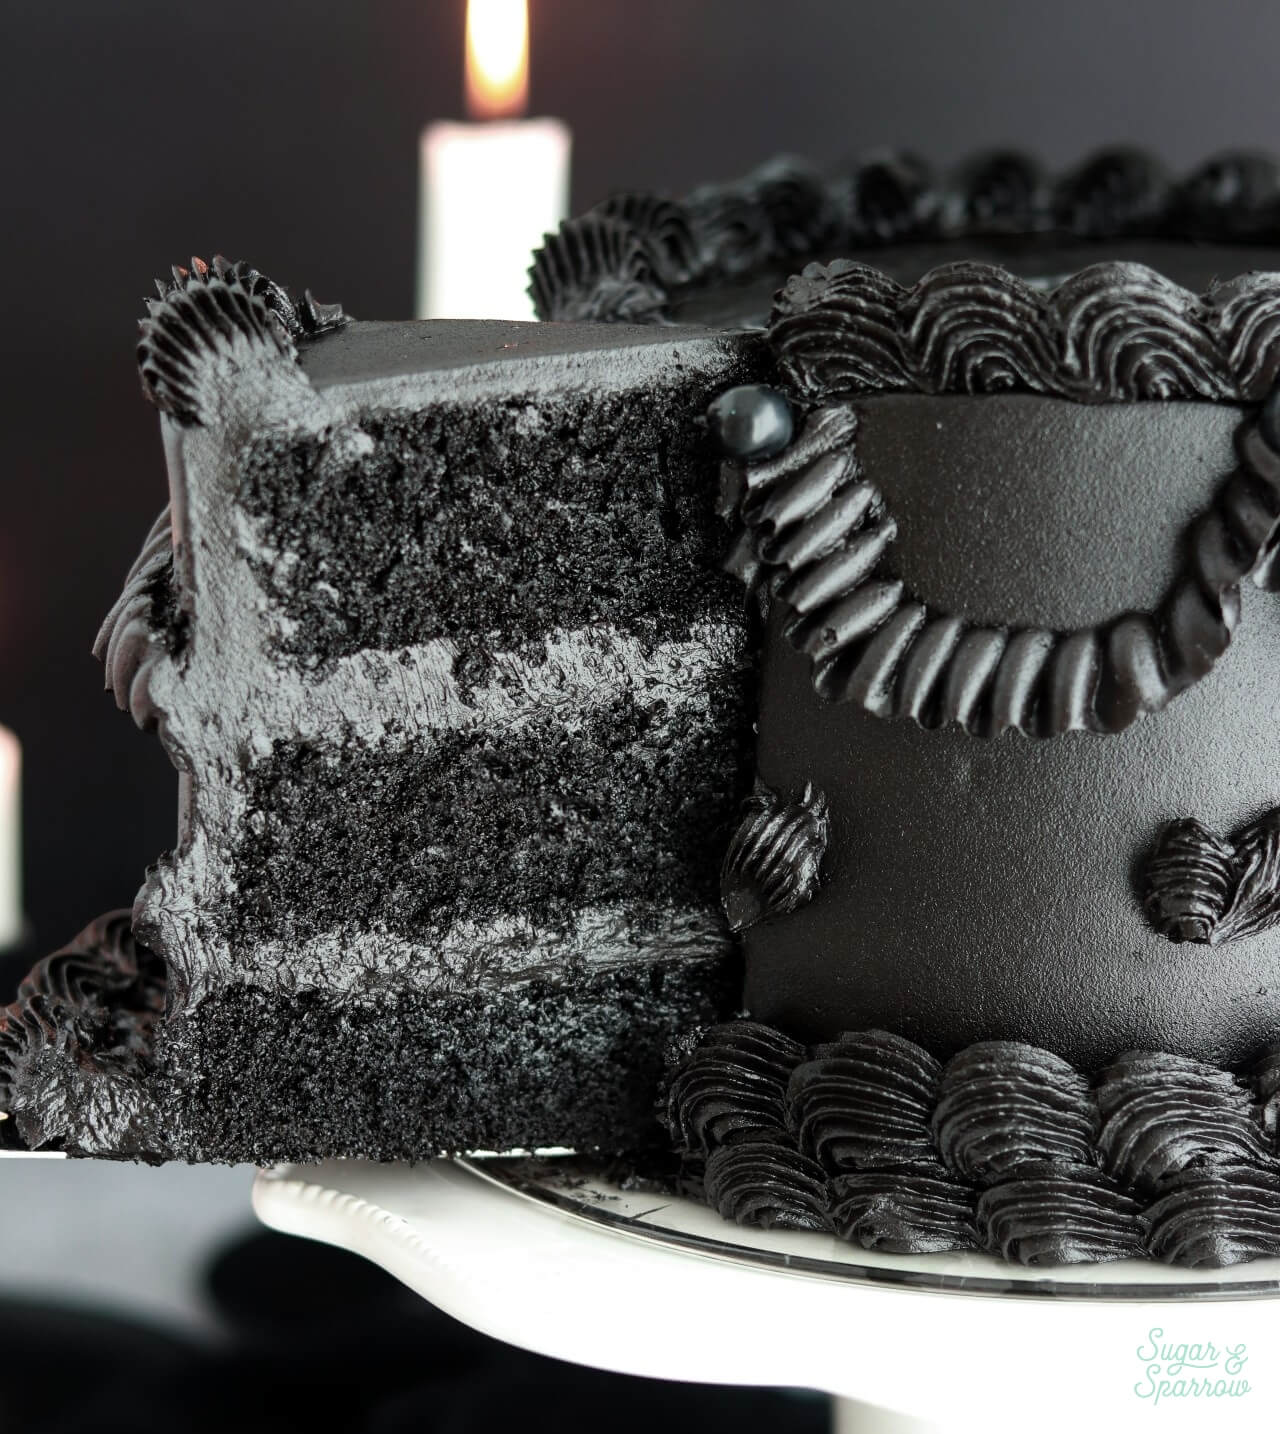
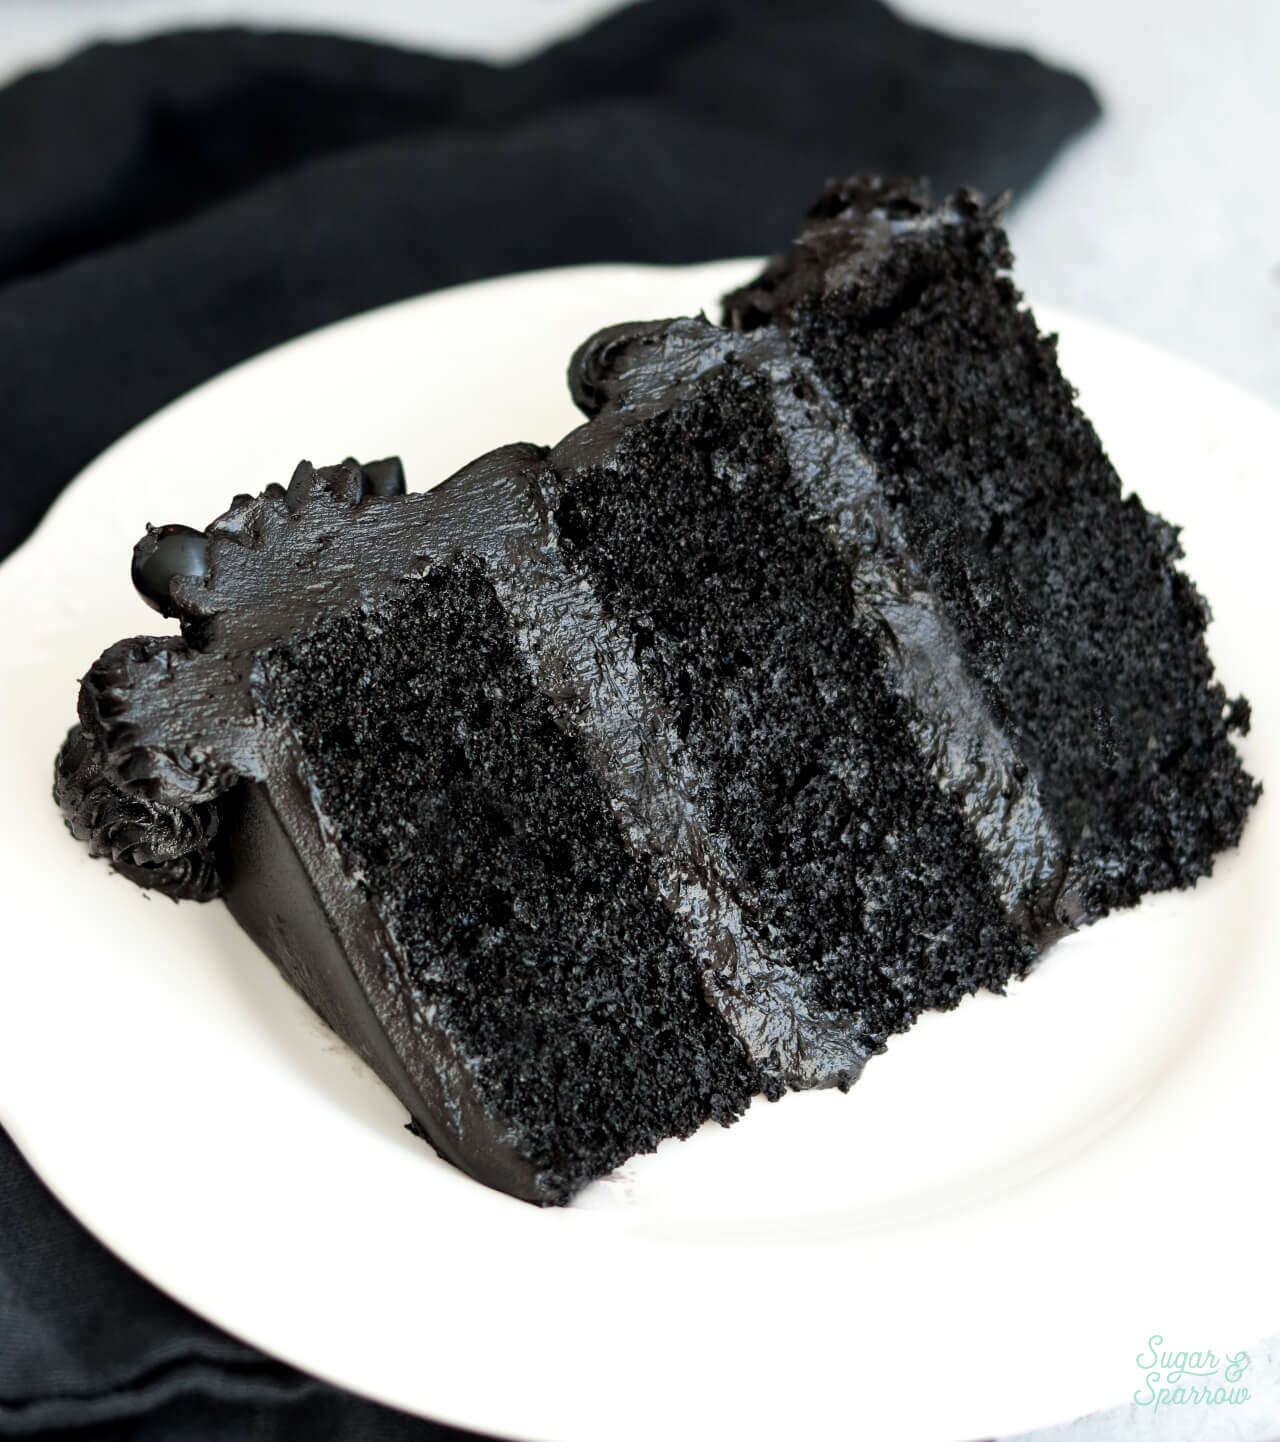
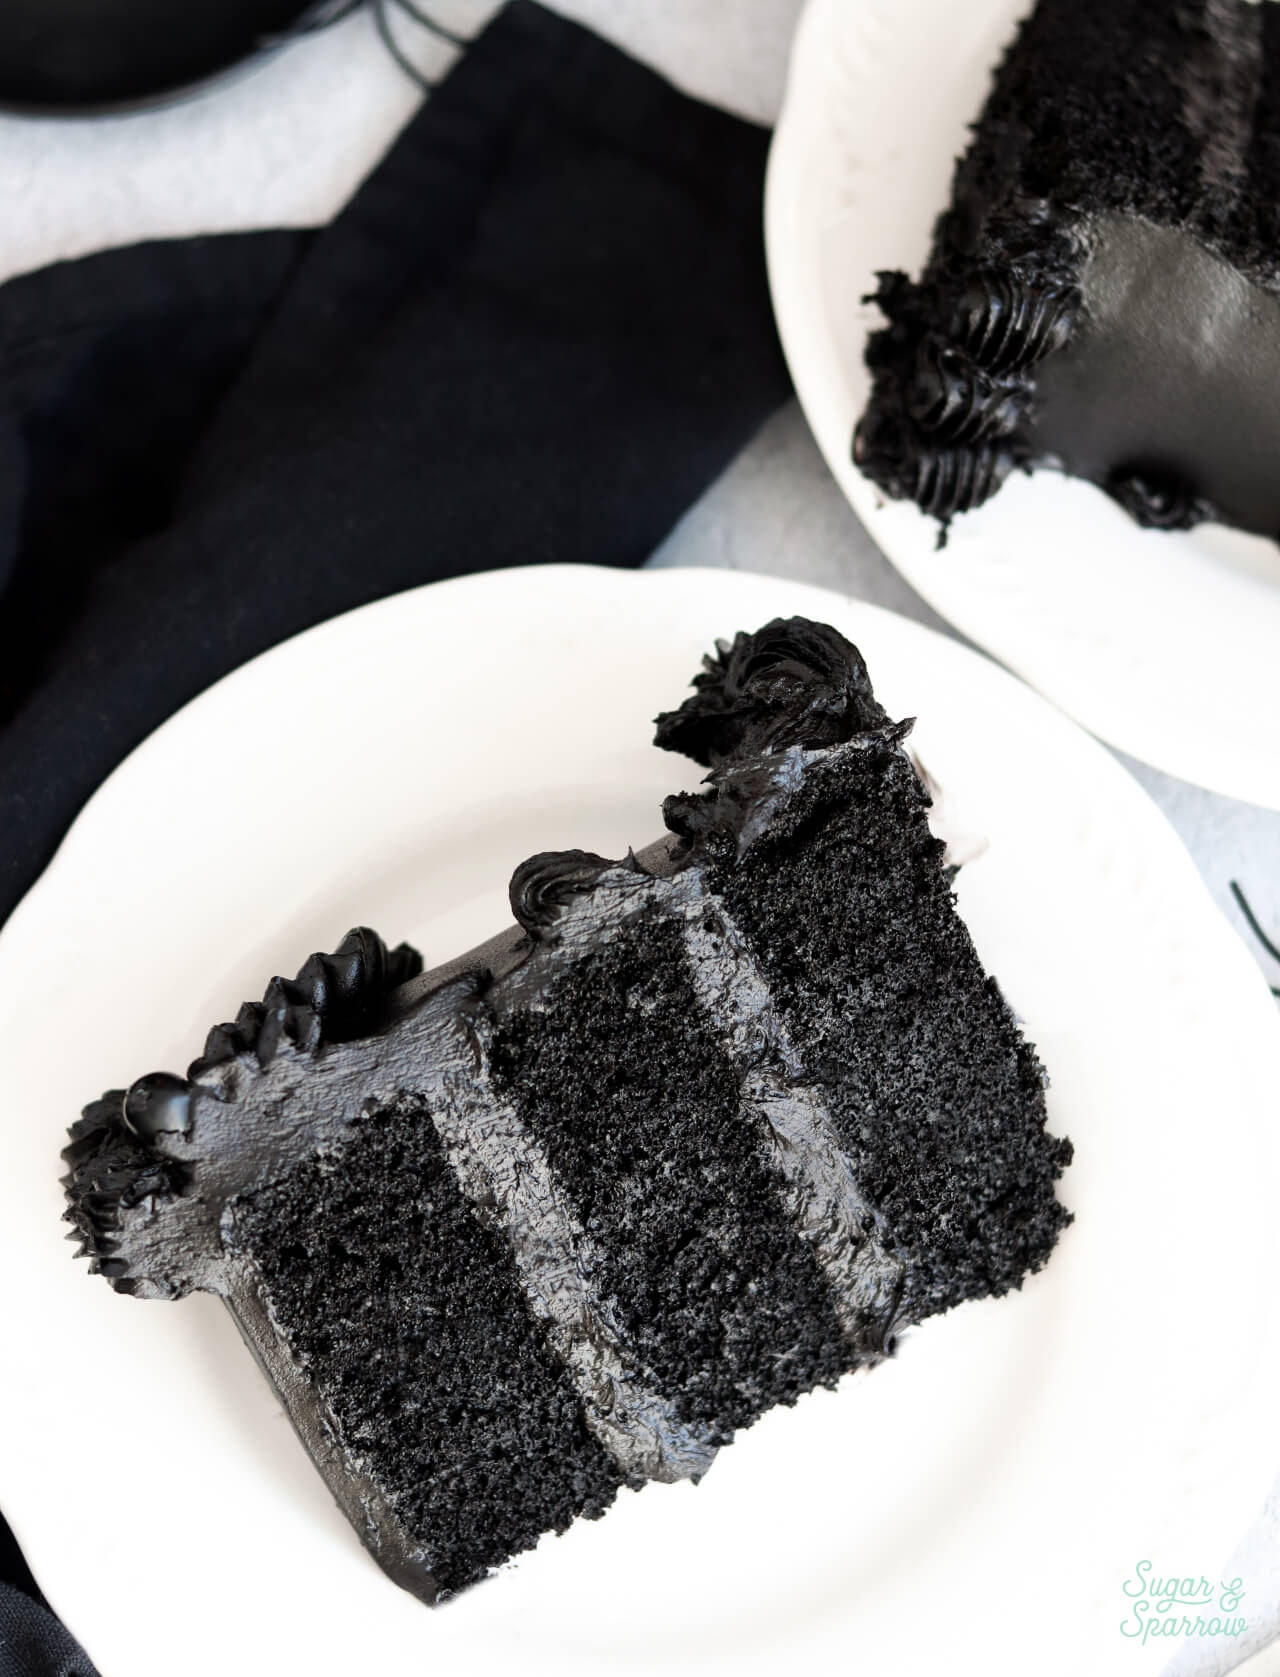
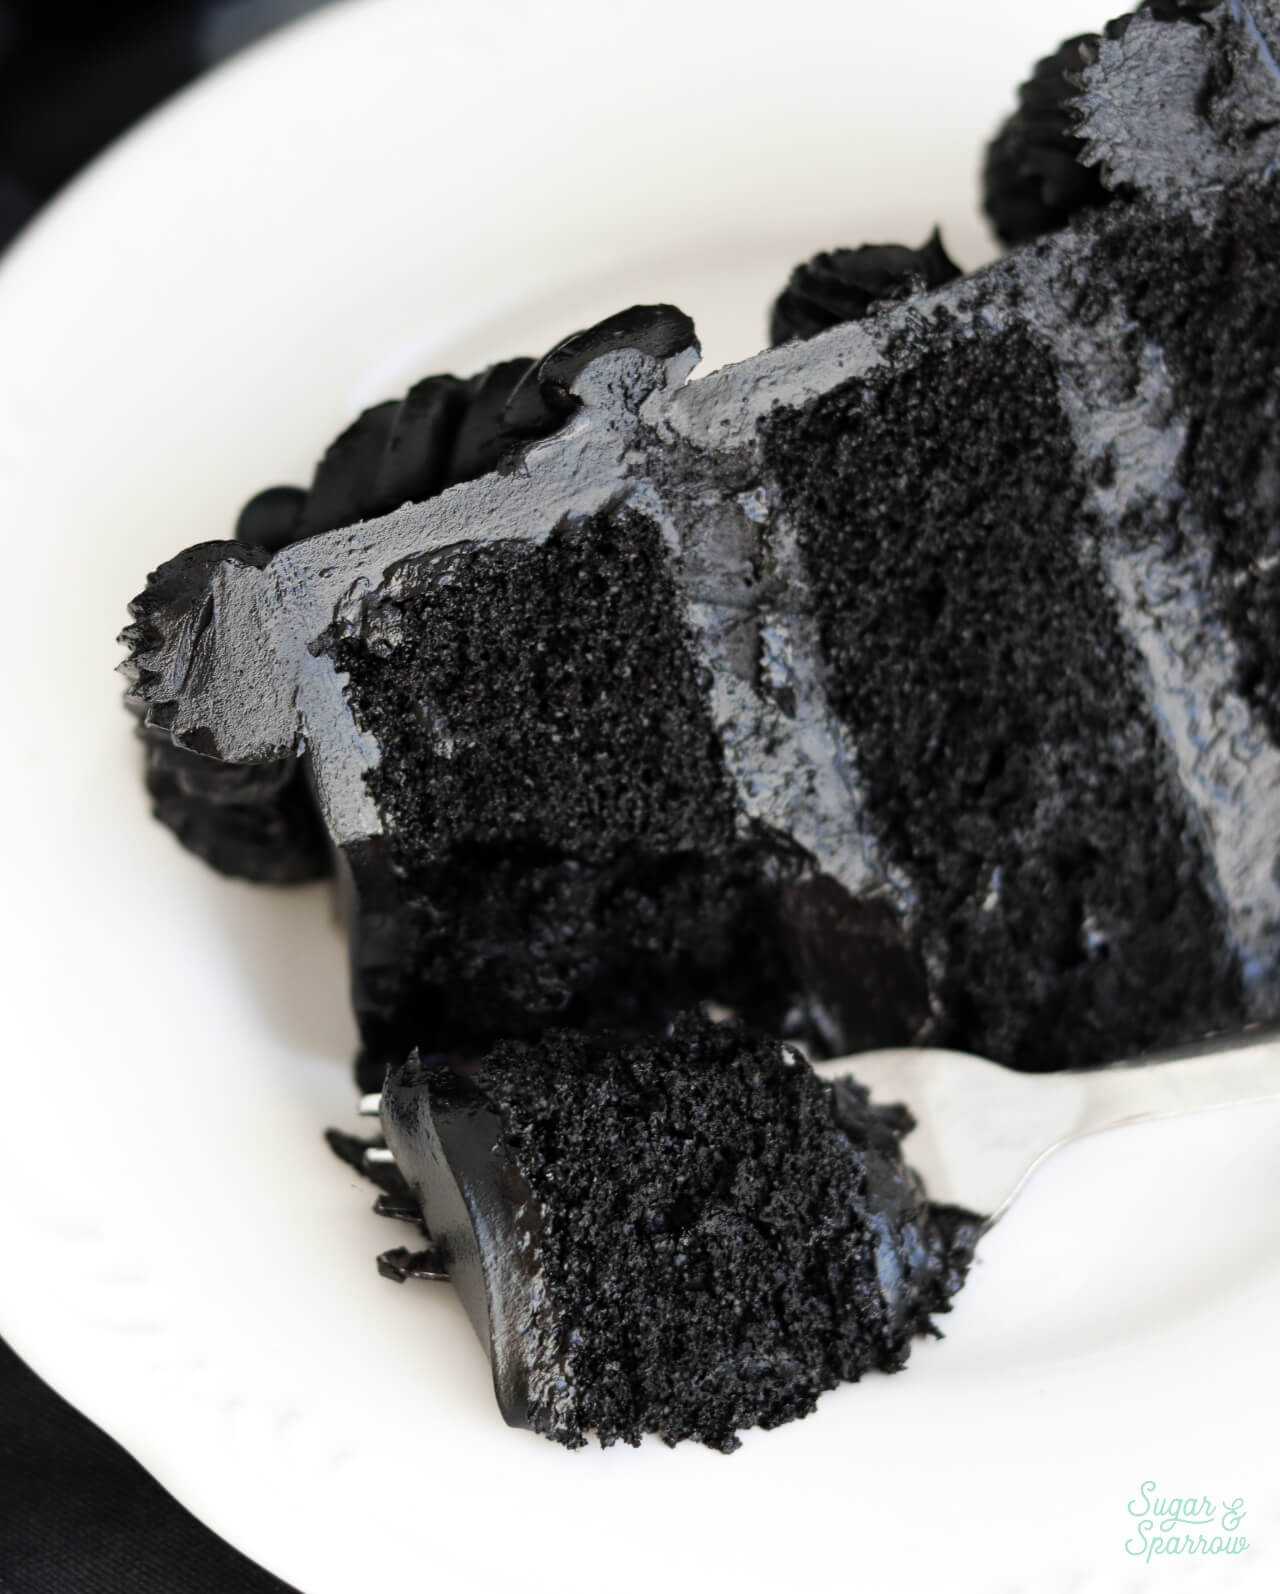
In honor of the spookiest season of all, I’ve whipped up a cake recipe that’s sure to satisfy all the Halloween lovers: black velvet. The cake layers are super moist and decadent, naturally colored pitch black with black cocoa powder, and taste just like the delicious shell of an Oreo cookie! Paired with my favorite dye-free black buttercream recipe and lambeth piping, this black velvet cake is a real stunner. It’s elegant and a little eerie all at the same time, which makes it the perfect Halloween party cake!
One Reader, Stacie, says: “I made this cake for my daughter’s birthday last year and it was fantastic – so much so that she requested it again this year! I shared a few slices with friends at work and one of them told me it was the best slice of cake she had ever had in her life! Love, love, love this recipe (and the black color) and won’t wait a year again to make it.” ★★★★★
Why You’ll Love This Black Velvet Cake
- Completely Dye-Free. Instead of using black food color gel, this recipe uses black cocoa powder to achieve the rich black color in the frosting and cake!
- Won’t Turn Anyone’s Mouth Black. Even though this entire cake is black, it won’t turn anyone’s mouth black or turn anything else crazy colors (iykyk) because it doesn’t contain any dye.
- So Easy to Make. The black velvet cake is a one-bowl recipe that is extremely fail-proof, and the black frosting is simple and straightforward as well. There are no fancy techniques involved and the only thing you’ll need to account for is giving the frosting time to darken in color (it’s best made a day ahead to get the darkest black color).
- Tastes Like Oreos. Since black cocoa powder is the main ingredient in Oreo cookie shells, this cake basically tastes like the layer cake version of an Oreo! So delicious and a total crowd pleaser.
- Perfect Halloween Party Cake. What’s better than an all-black cake for a Halloween party? It’s a little spooky yet elegant and the lambeth piping makes it a total showstopper for any Halloween gathering!
What Kind of Black Cocoa Powder Should I Use?
Black cocoa powder is basically an ultra-Dutched cocoa powder, meaning it’s been treated with an alkaline solution to reduce its acidity. Over the years I’ve discovered that not all black cocoa powders are created equal! The amount of alkalization varies between brands, which can affect both the color and the way black cocoa performs in baked goods.
For this Black Velvet Cake recipe, I recommend using a black cocoa powder that is moderately alkalized. More heavily alkalized black cocoas tend to produce a deeper black color, but they can behave differently in cake recipes when used as a 1:1 substitute in this recipe. That said, here are my recommendations:
- My Favorite Black Cocoa Powder for the CAKE LAYERS: OliveNation Jet Black Cocoa Powder or another moderately alkalized black cocoa powder.
- My Favorite Black Cocoa Powder for the FROSTING: The Cocoa Trader Black Cocoa Powder. It’s the darkest black cocoa powder on the market and makes a beautifully black frosting without needing any black food coloring.
- If You Only Want to Purchase ONE Black Cocoa Powder (Understandable!), Either:
- Use The Cocoa Trader for the frosting and cake layers, but for the cake layers you’ll need to reduce the amount and add a little Dutch-processed or regular cocoa powder to make up the difference — just see the substitution note in the recipe card below, OR
- Use OliveNation (or another moderately Dutched black cocoa powder) for the cake layers and frosting, but add a little squirt of black food coloring to the frosting to make it dark black.
How to Make Black Velvet Cake
This black velvet cake batter comes together in one bowl and you can choose to whisk the whole thing by hand or use an electric mixer. Here’s how to make it:
Mix Together All the Dry Ingredients
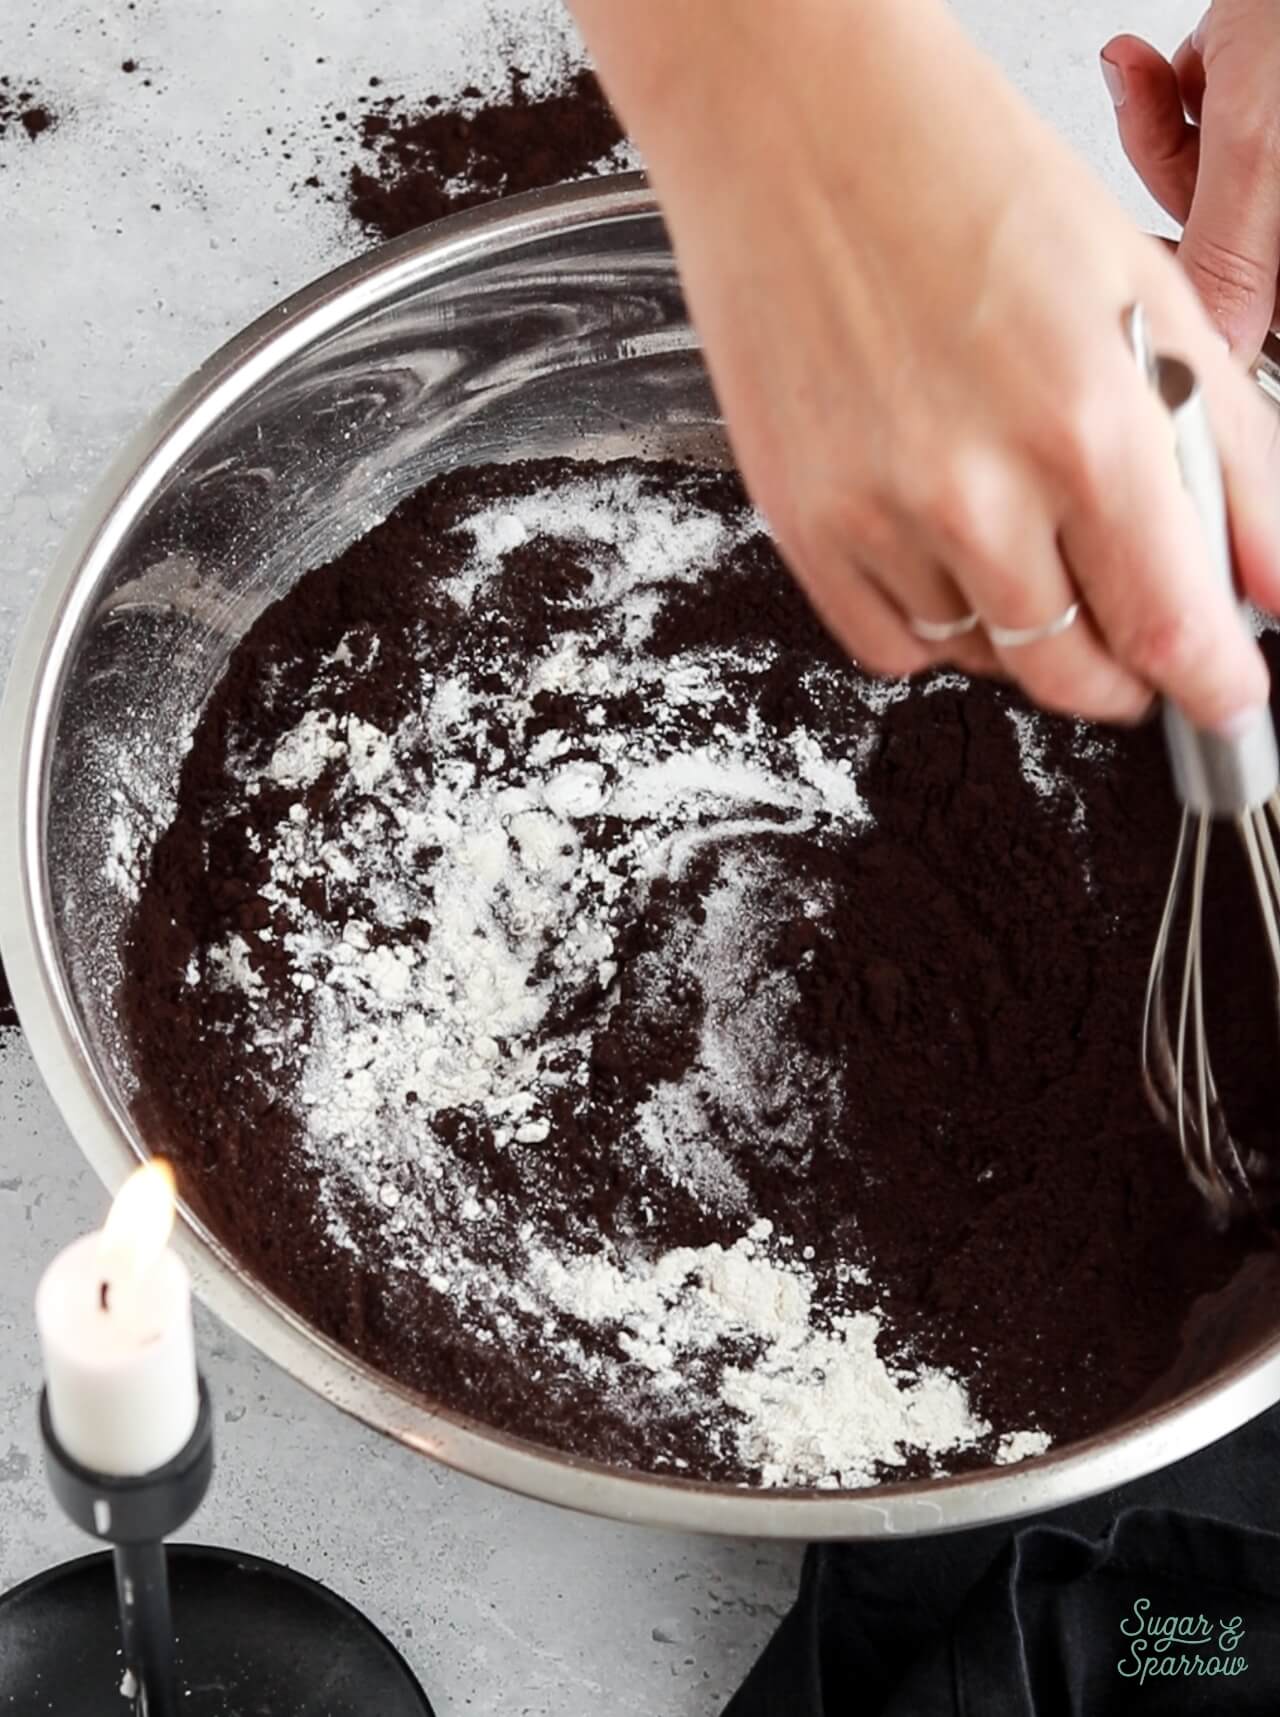
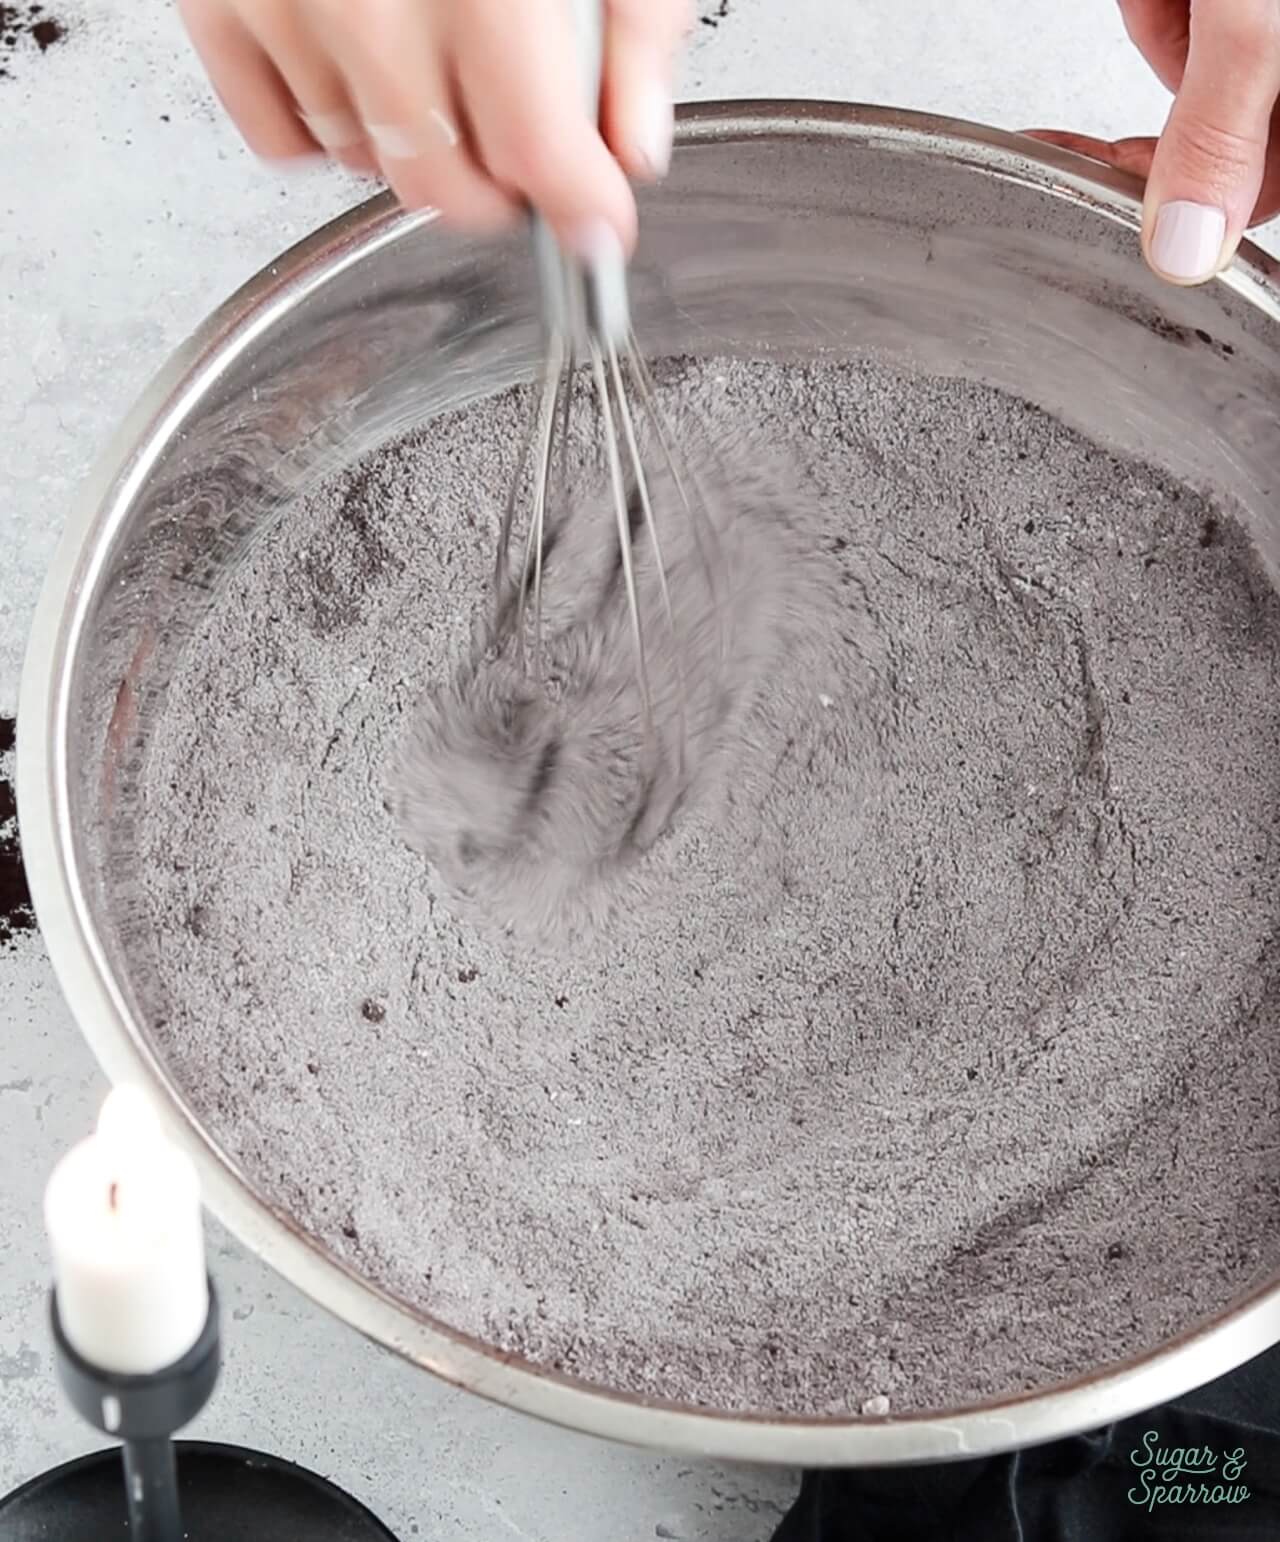
In a large bowl, whisk together the flour, sugar, baking soda, baking powder, salt, and black cocoa powder.
Add Most of the Rest of the Ingredients
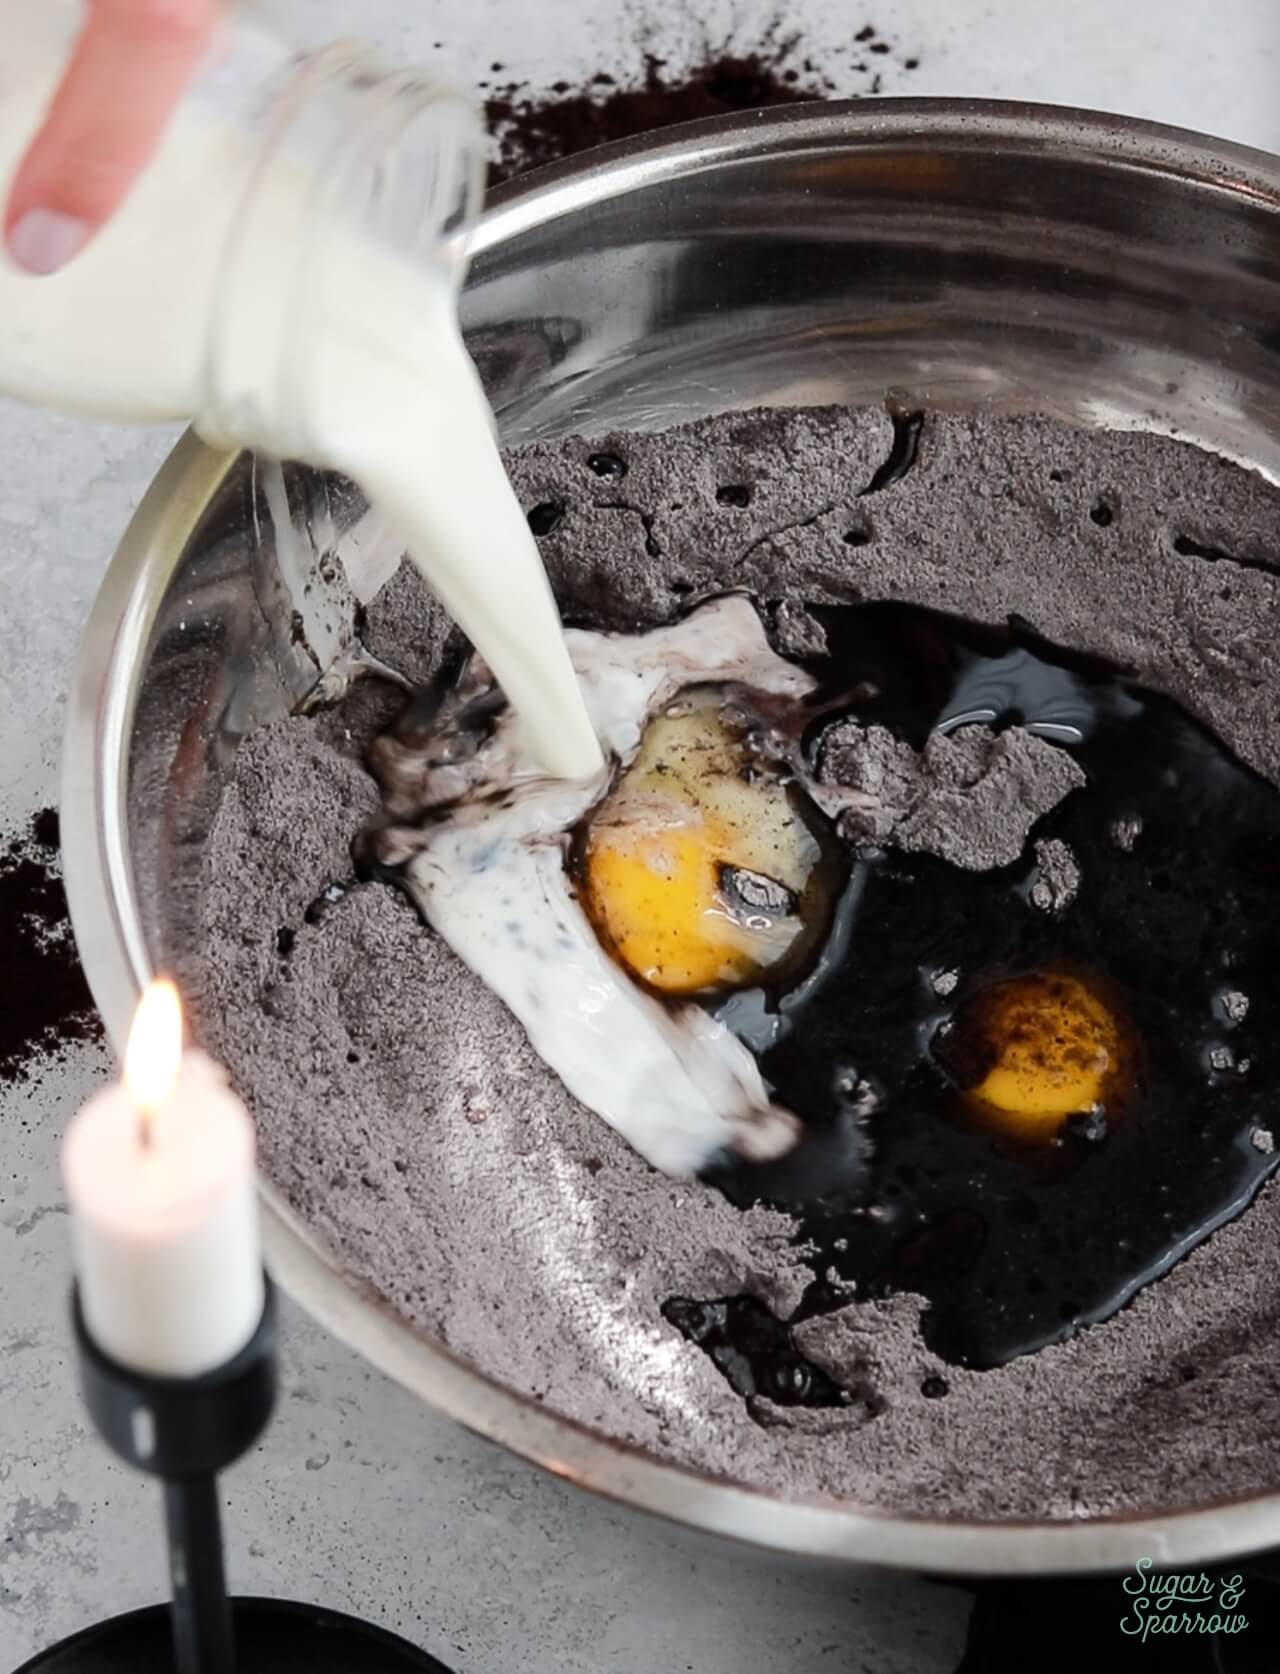
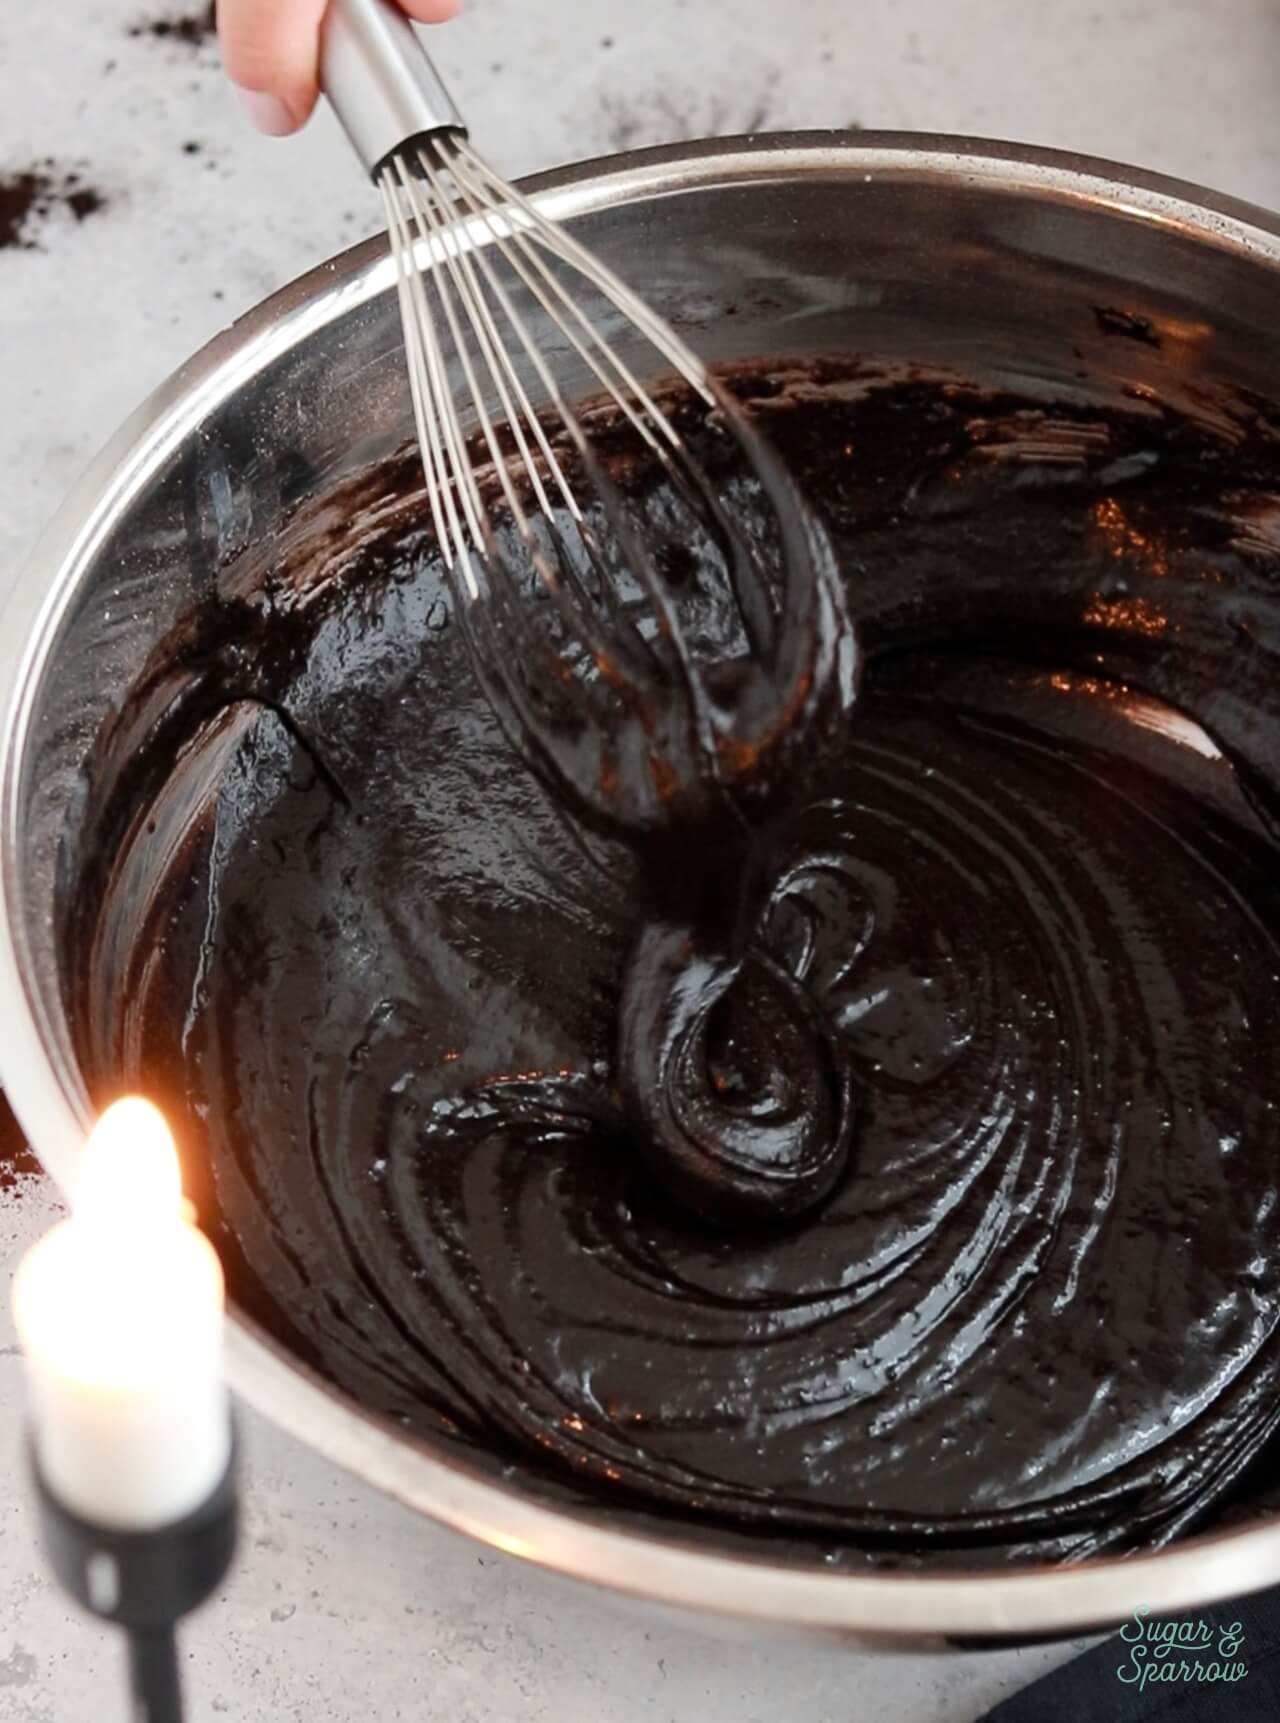
To the dry ingredients, add the eggs, oil, vanilla, and buttermilk (or whole milk mixed with vinegar). Mix together until it resembles thick brownie batter.
Add the Hot Coffee (or Hot Water)
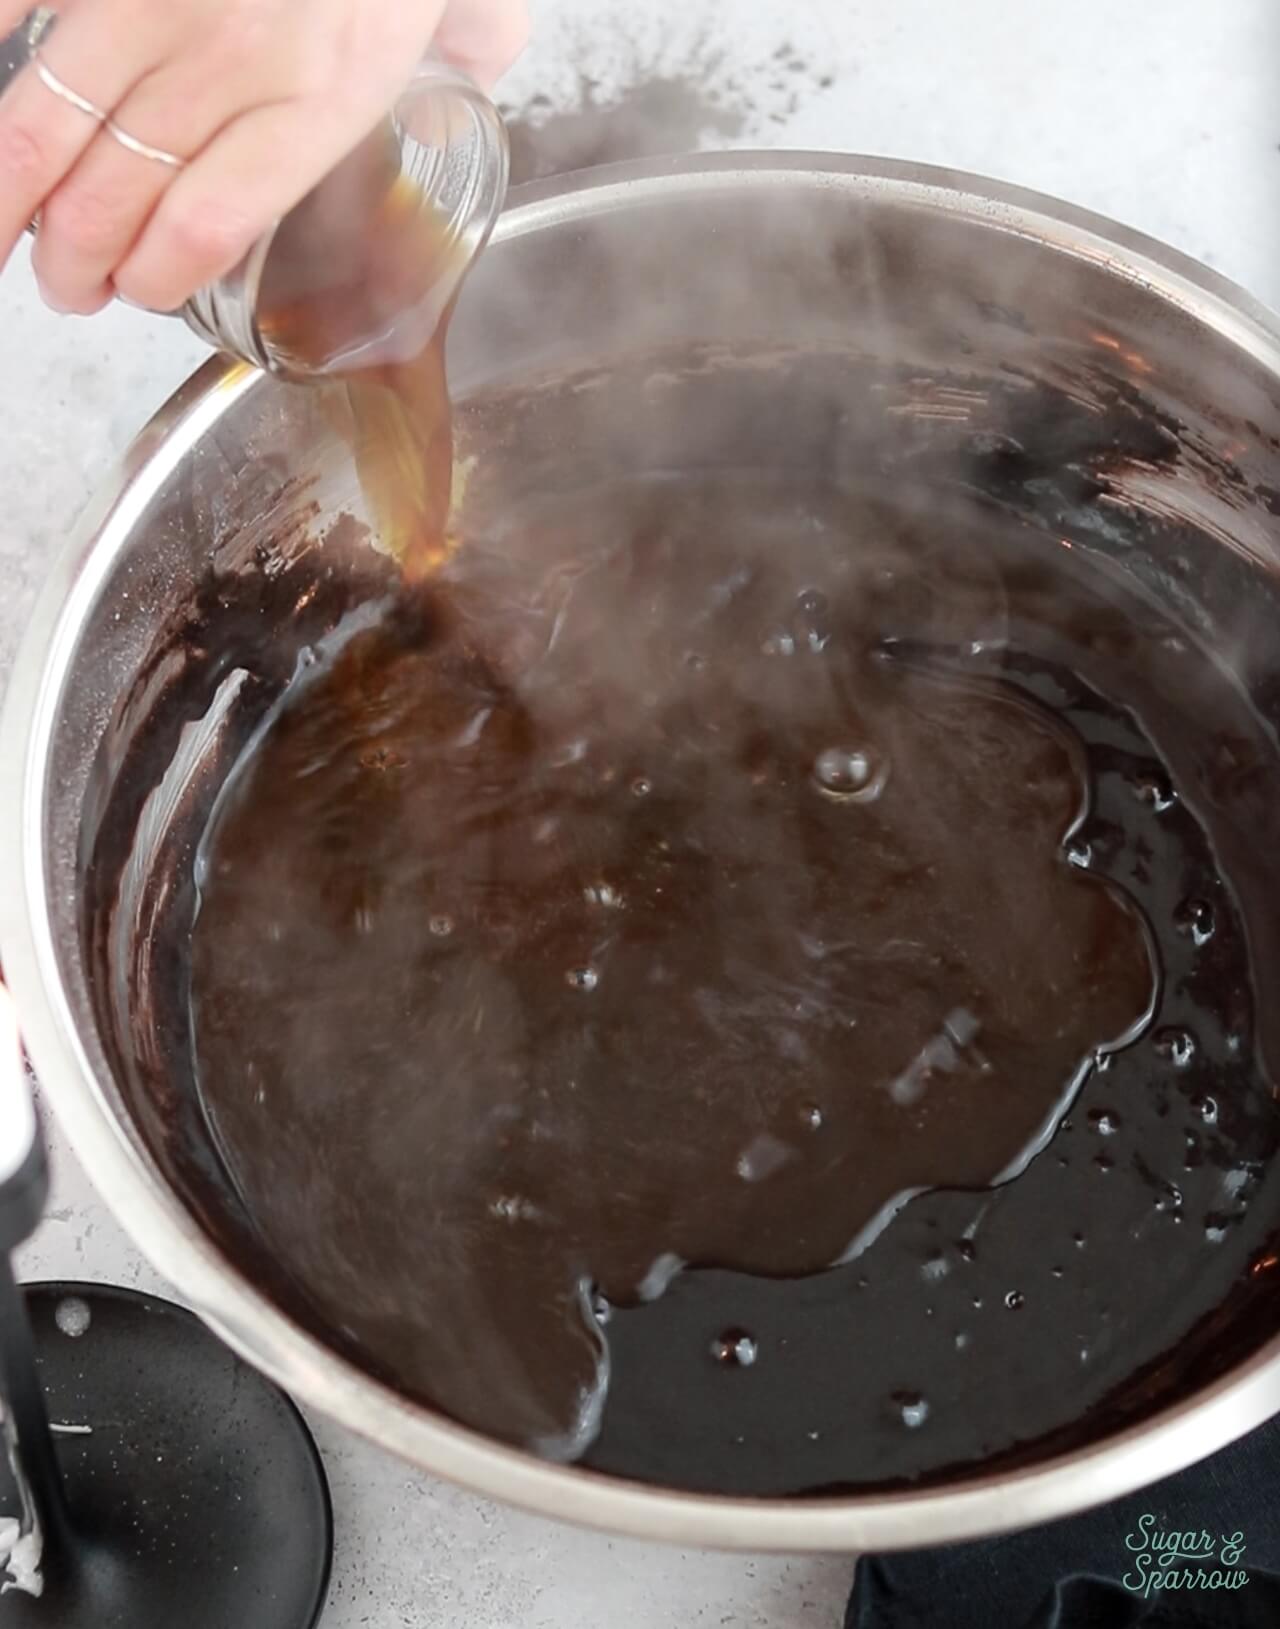
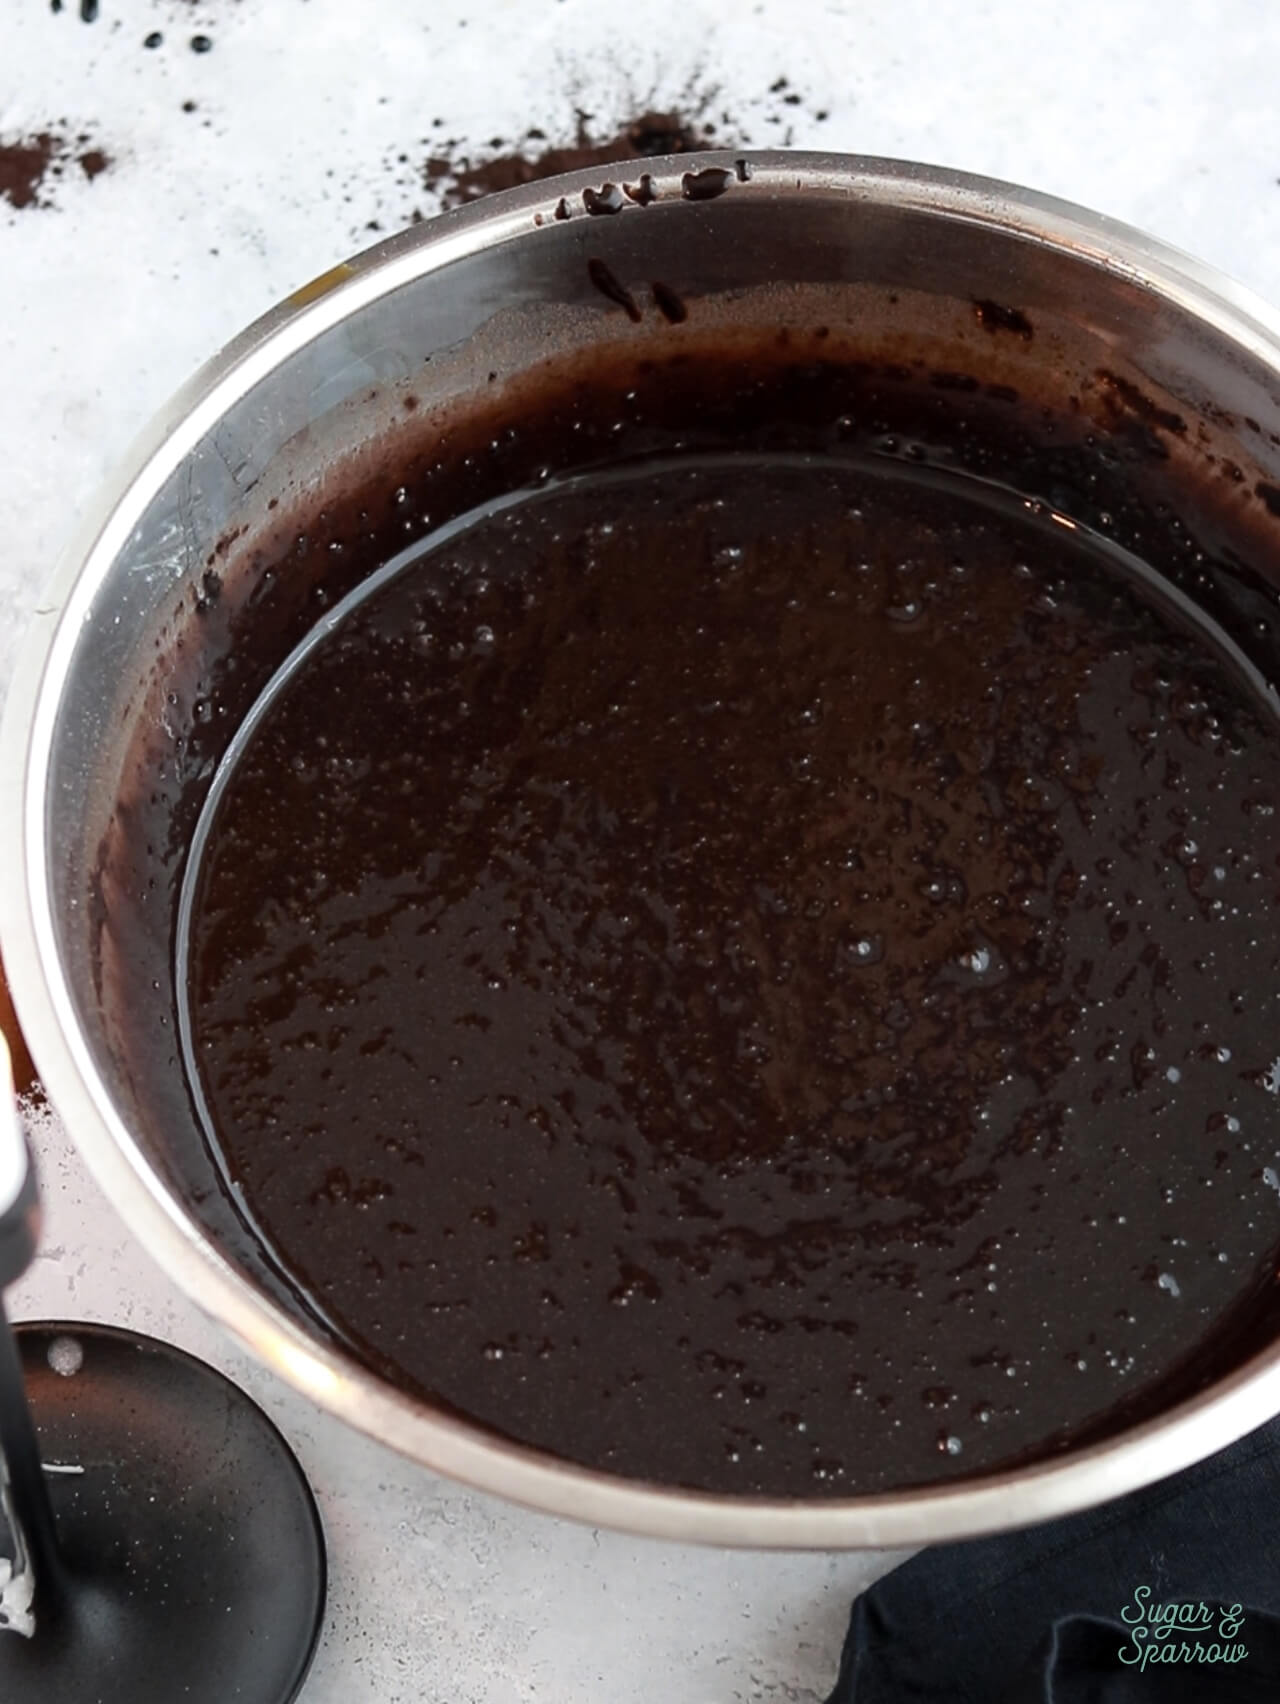
Add the hot liquid (coffee or water) and mix vigorously for about 2 minutes until smooth. The batter will be thin.
Bake and Cool the Cake Layers
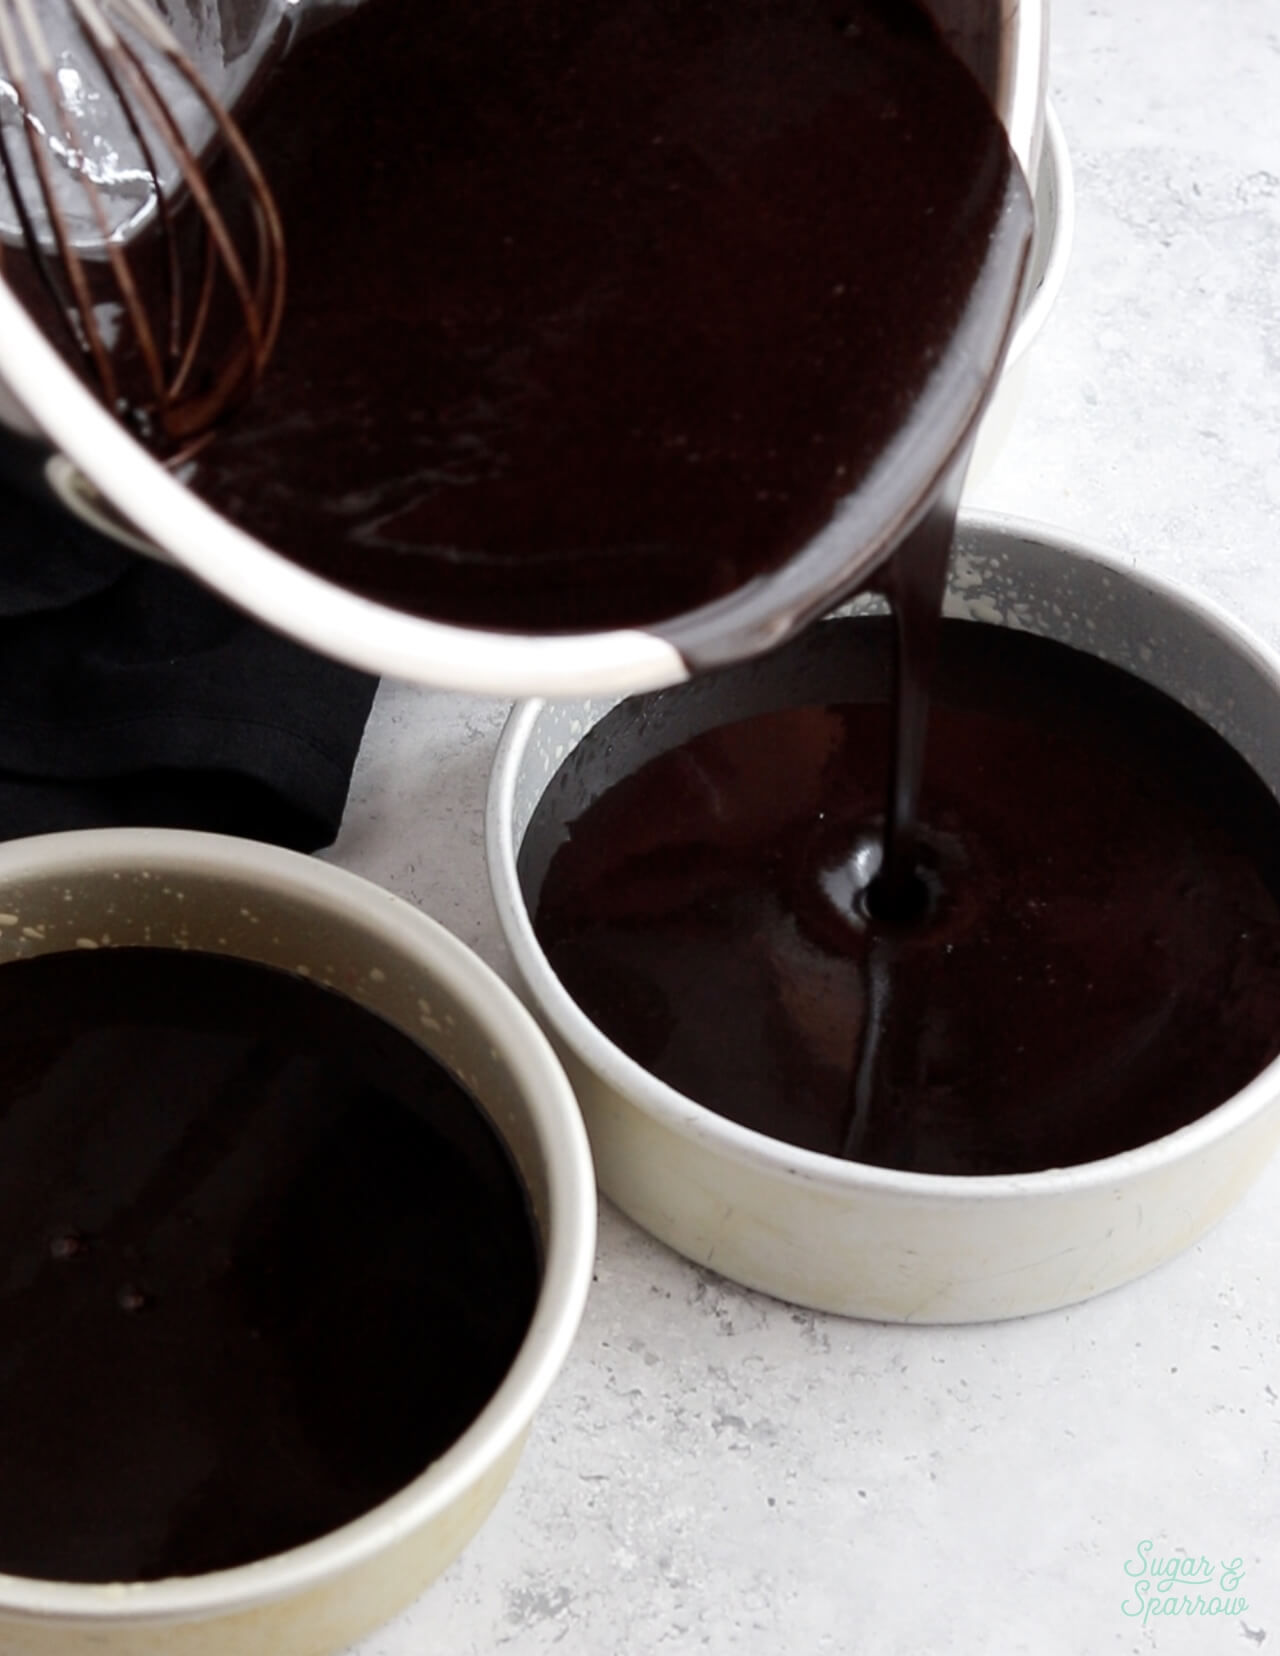
Pour the black velvet cake batter into three 6-inch cake pans (as pictured) or two 8-inch cake pans that have been prepared by spraying the sides with baking spray and lining the bottoms with parchment paper. Bake at 350ºF (177ºC) for 32-36 minutes, or until a toothpick inserted comes out clean or with just a few moist crumbs.
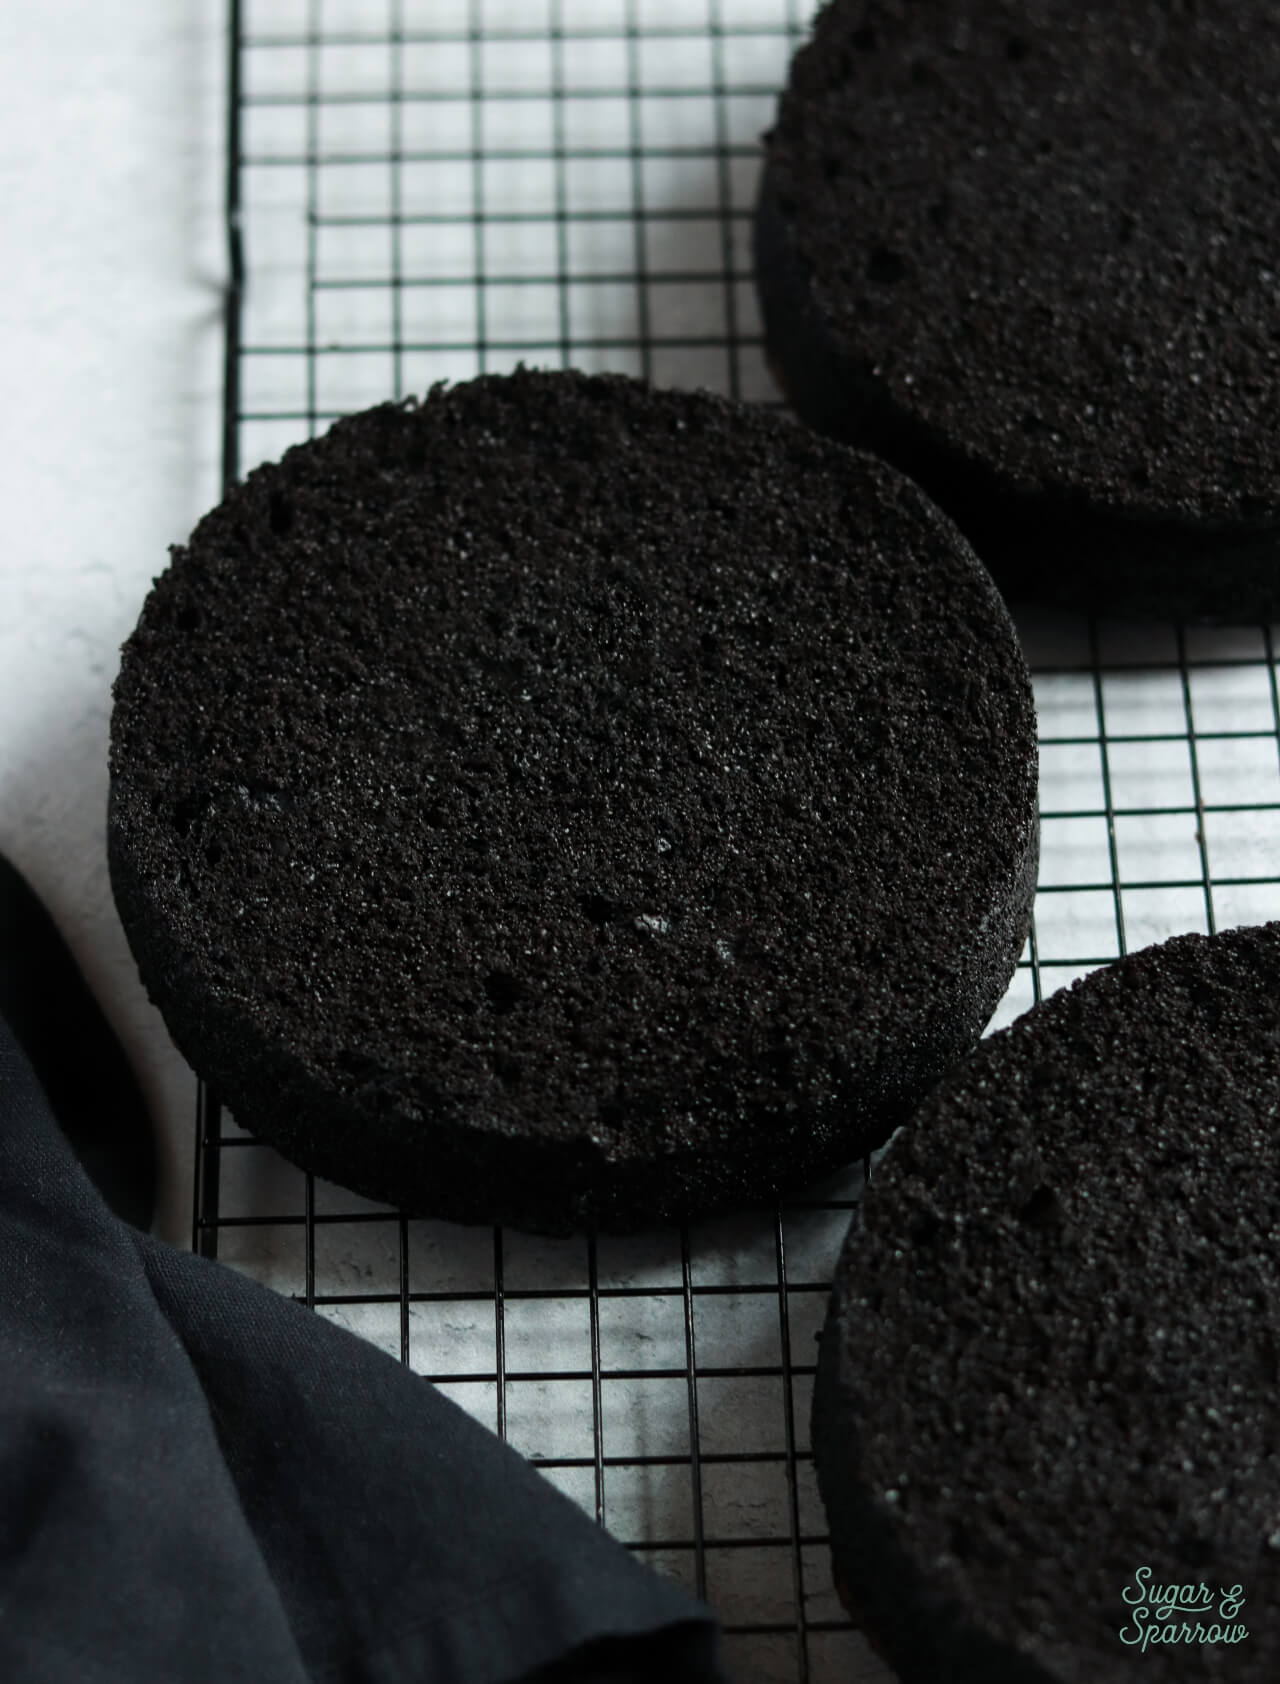
Cool the cake layers completely before leveling them to your desired height, then filling and frosting with black buttercream (decorating tutorial below).
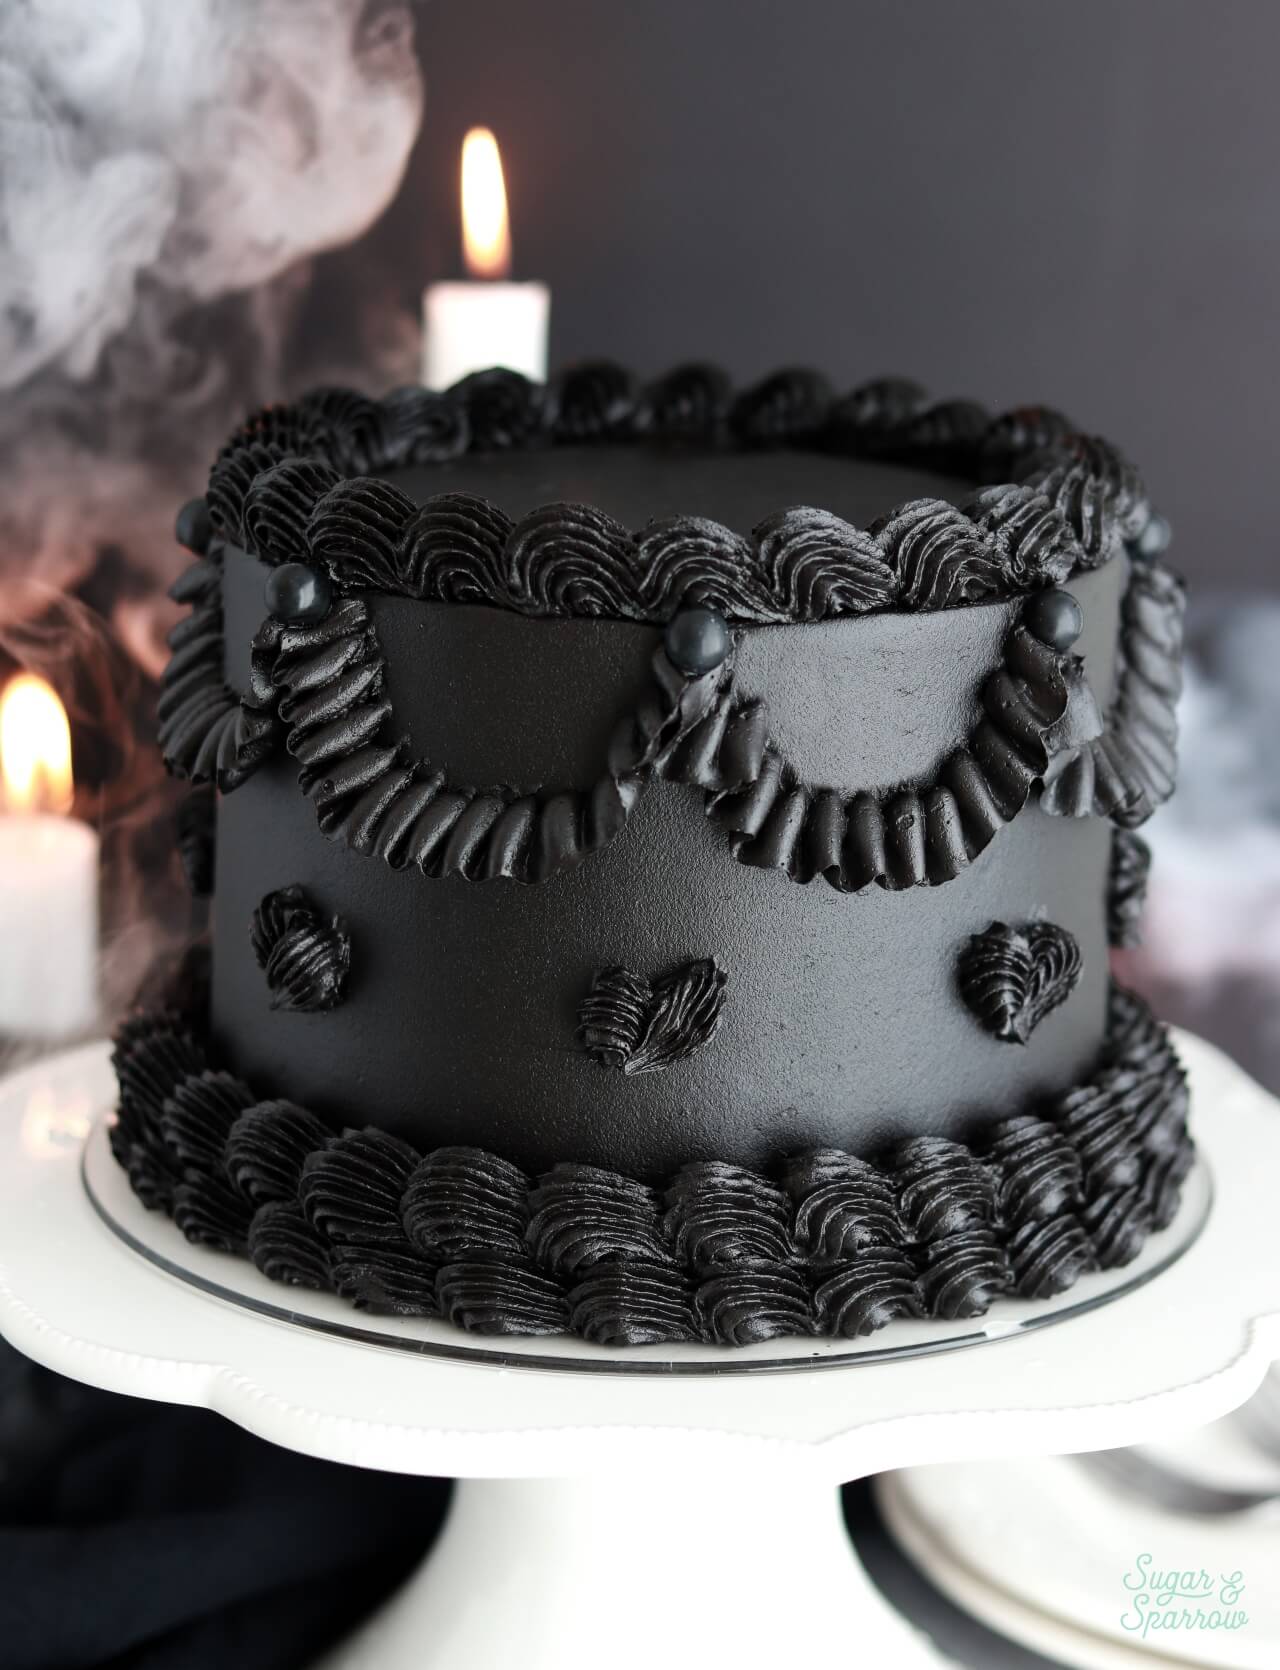
How to Make a Lambeth Cake
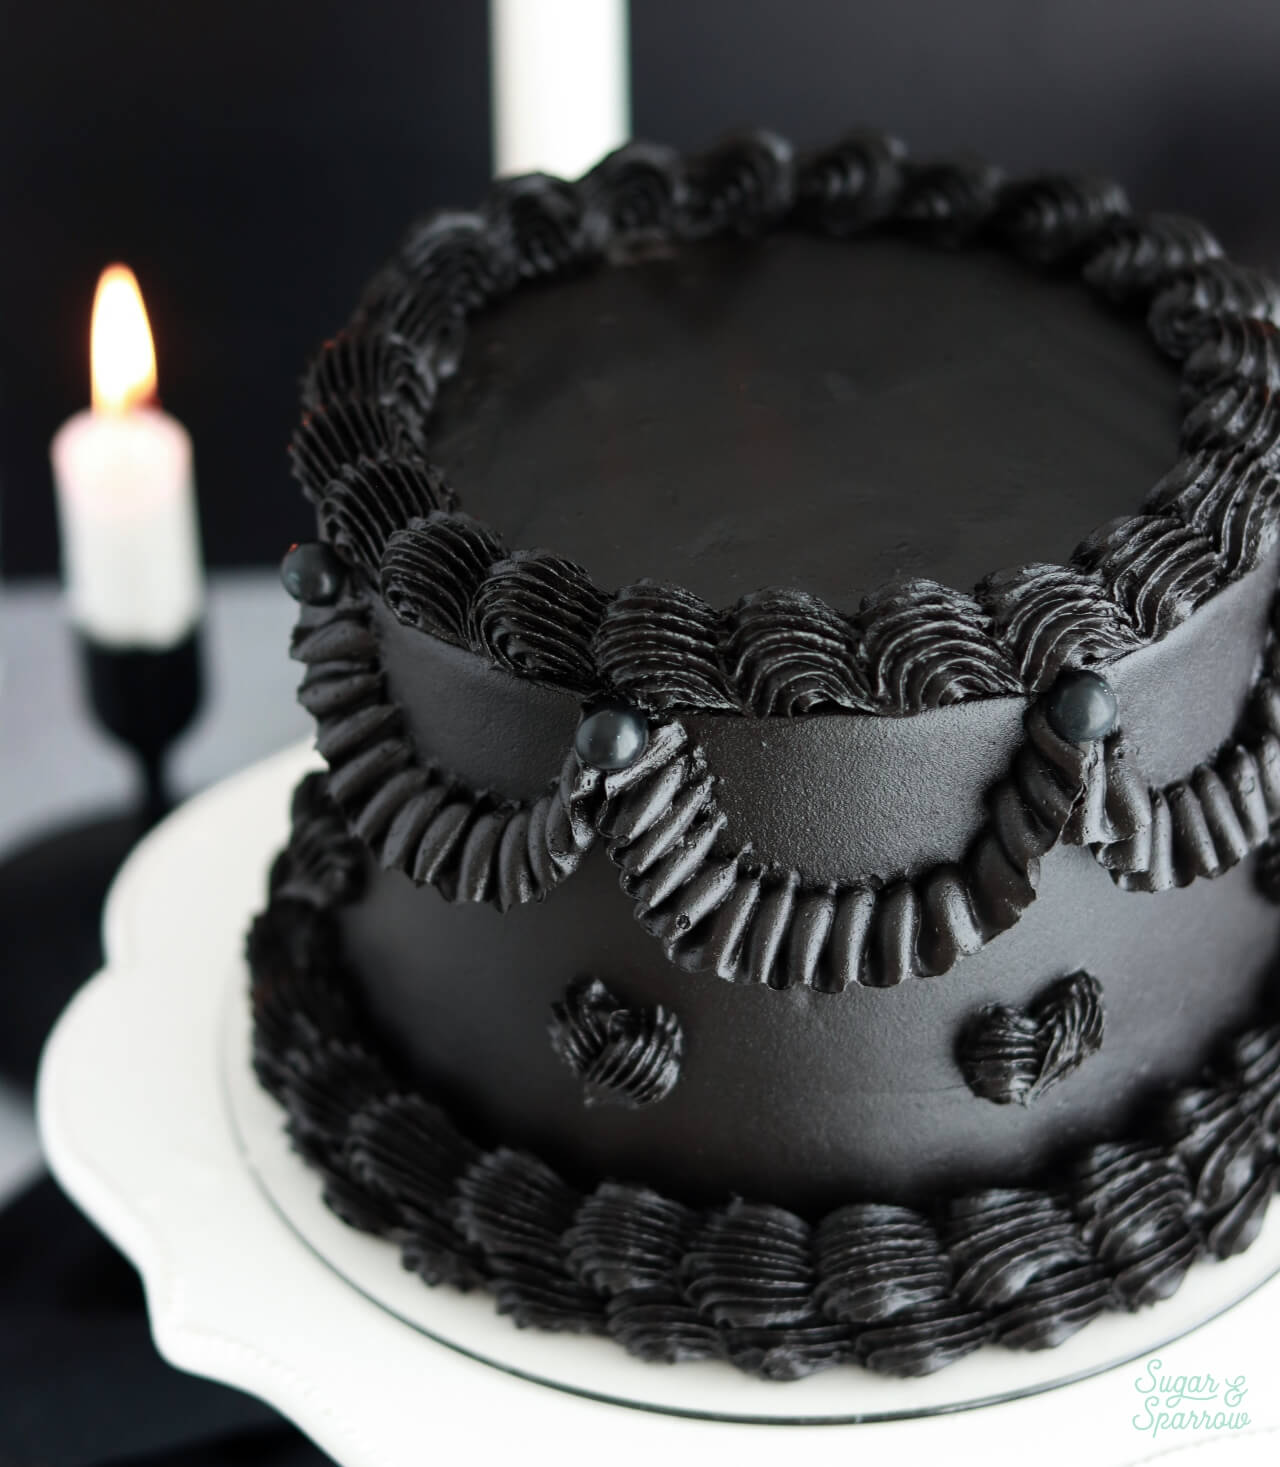
After making these cake layers, I couldn’t stop imagining black lambeth piping as the final decoration. Turns out that lambeth was the perfect choice to turn this black velvet cake into a spooky showstopper. The thing about lambeth is you can add as many layers of piping as you want, so feel free to go overboard. NOTE that to create the look pictured, you’ll need a little more buttercream than the recipe calls for. See the notes section of the recipe card below for the ingredient amounts.
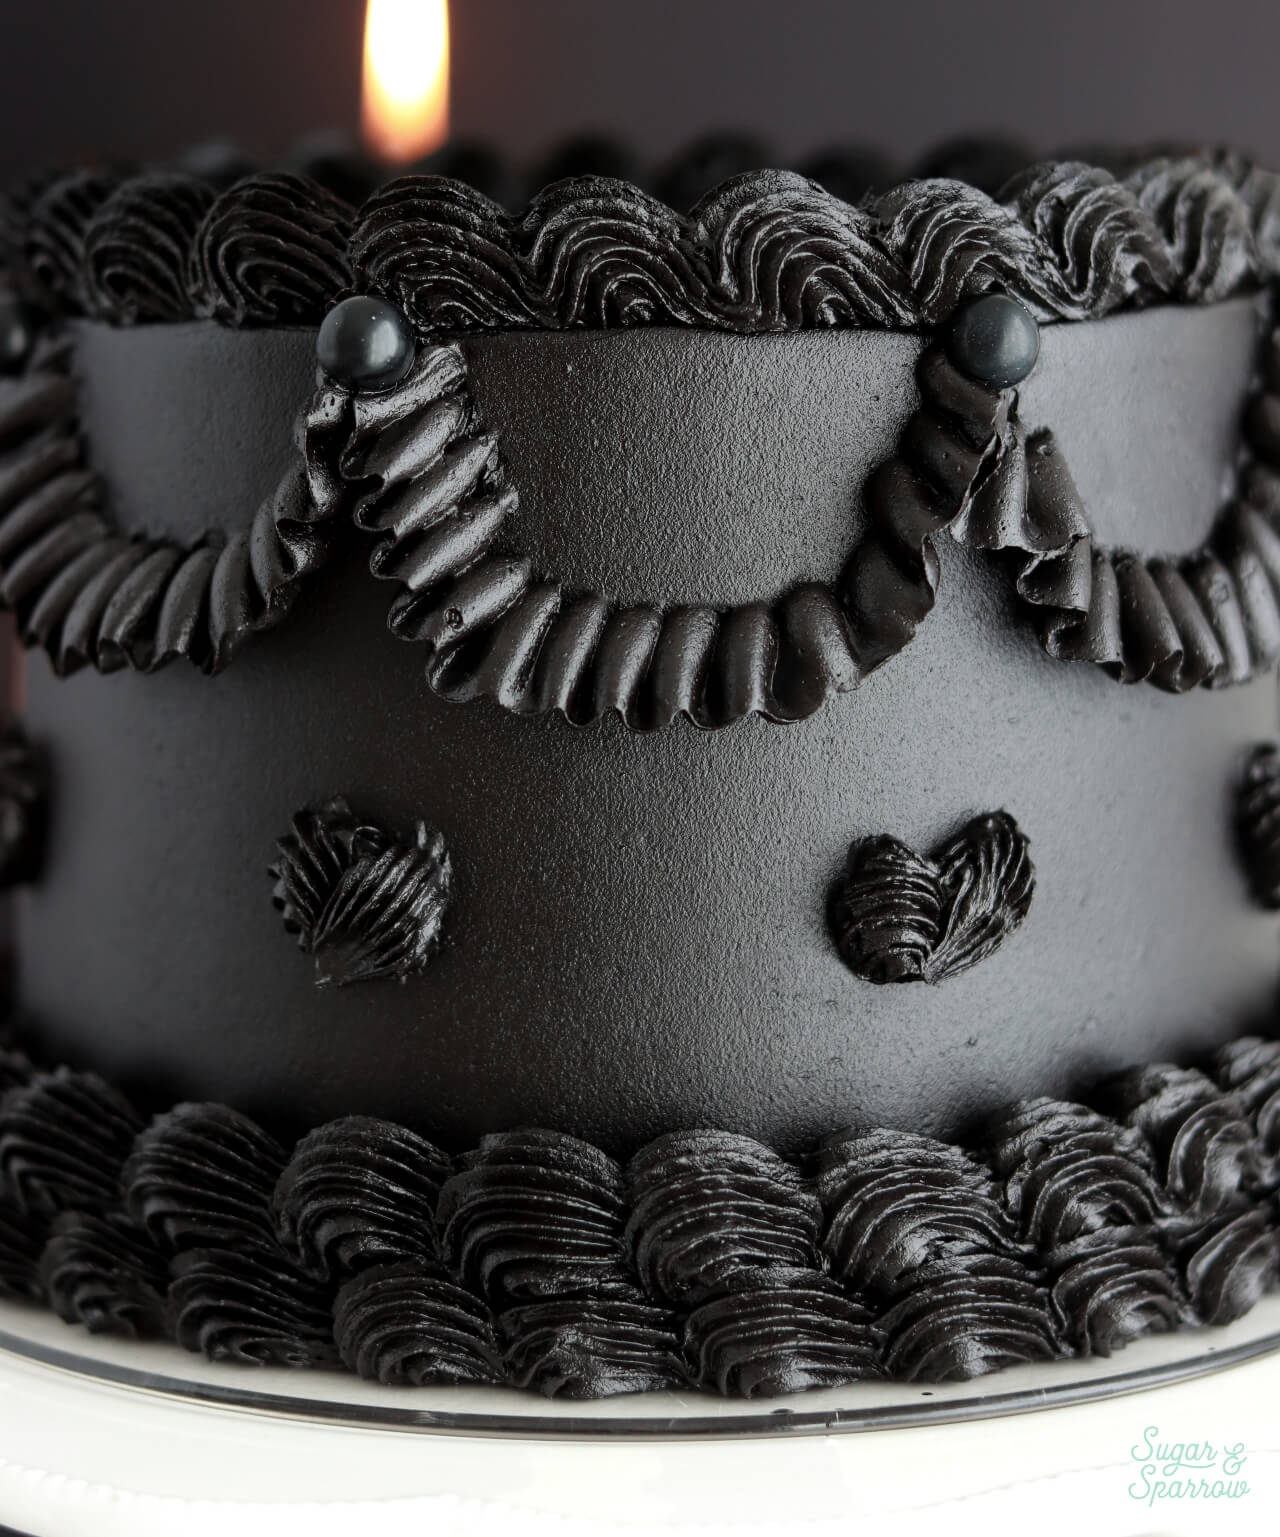
Here’s how I decorated the cake pictured: I used the black buttercream to fill and stack the cake, crumb coat it, and frost it with a smooth buttercream finish. After chilling the cake until the frosting was firm, I made a template for the garlands using this same parchment paper technique from my cherry chip cake recipe. Then, I used the following piping tips to decorate:
- Wilton Tip 4B for the shell borders
- Wilton Tip 104 for the ruffle garlands
- Wilton Tip 32 for the overlapping shells below the garlands
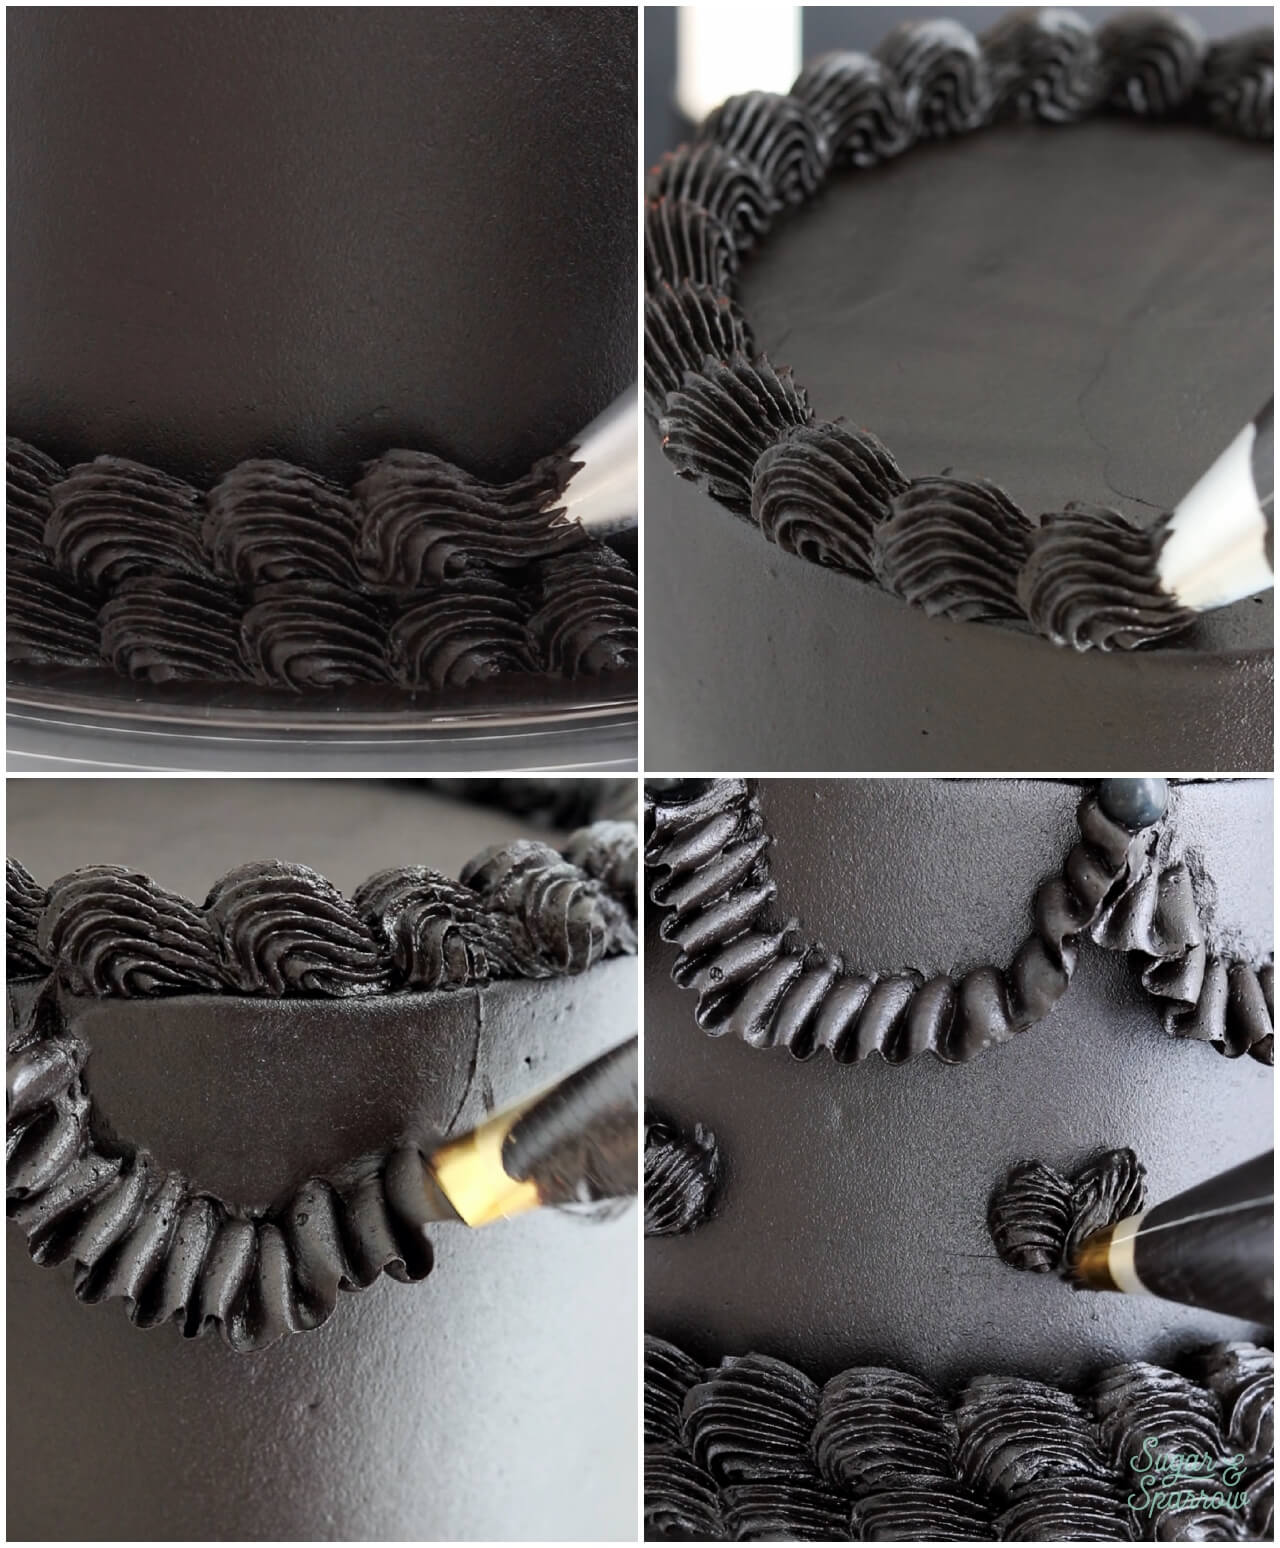
My cherry chip cake recipe shows these piping techniques in more detail. I finished the look by placing a few round black sprinkles to accent the ruffle garlands.
Black Velvet Cake Recipe Video
Here’s a quick video that shows this cake recipe from start to finish + a decorating tutorial (for an older but similar design):
If you love recipe videos like this one, be sure to check out my YouTube channel! I’ve got a growing collection of cake recipes, decorating tutorials, and Cake Basics over there. Hit the subscribe button on my page so you never miss a new video.
Recipe FAQs
- What brand of black cocoa powder should I use for black velvet cake? For the cake layers, I recommend using a black cocoa powder that is moderately alkalized (like this one by OliveNation) but for the frosting to be completely dye-free, using this extra dark black cocoa powder by The Cocoa Trader is crucial. If you only want to purchase one black cocoa powder (understandable), get The Cocoa Trader brand but see the notes section of the recipe card for the amount instructions (it won’t make the best 1:1 substitute in this recipe, but can be easily adapted for best results).
- Can I find black cocoa powder at the grocery store? I haven’t been able to find black cocoa powder at any local grocery store, but you can certainly try.
- What makes this a “velvet” cake? The term “velvet cake” dates back to the 1800’s. The term was used to describe the soft, delicate texture of the cakes served at fancy dessert parties. Today, there are recipes for virtually every color of velvet cake – red velvet and white velvet being the most popular. The common denominator between all of the velvet cake recipes of today is the use of buttermilk or vinegar. These acidic ingredients help give the cakes their velvety texture.
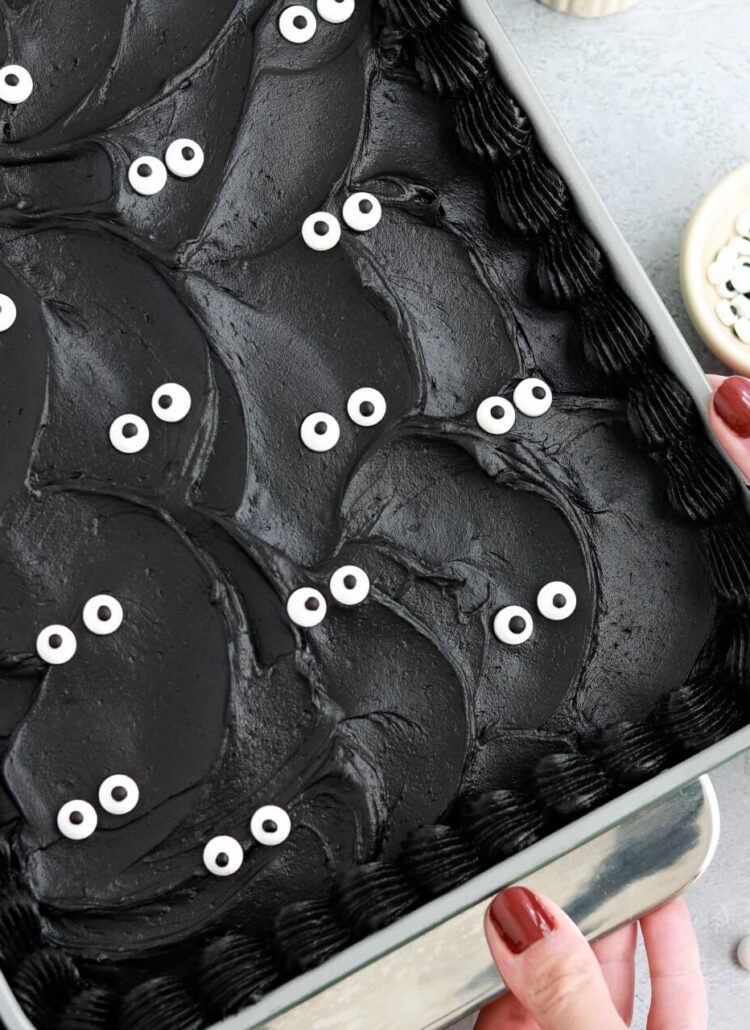
- Can I bake this in a 9×13 pan? Yes! But use this black velvet sheet cake recipe for the perfect frosting amount.
- Can I make this black velvet cake vegan? I have a recipe for vegan black velvet cake here!
- Can I make this recipe into cupcakes? I have dedicated recipes for black velvet cupcakes, and even a small batch black velvet cake if you want to make a mini-size to serve just 2-4 people.
Similar Cake Recipes & Tutorials You’ll Love:
- Red Velvet Cake
- Oreo Layer Cake
- Buttercream Monster Cake Tutorial
- Vintage Halloween Lambeth Cake Tutorial
- Black Velvet Cupcakes
- Mini Black Velvet Cake (a small-batch version of this recipe!)
I hope you love this black velvet cake recipe as much as I do! Let me know if you make it in the comments below (be sure to leave a star rating!) and feel free to tag @sugarandsparrowco on Instagram to show me if you post a photo. I love to see what you create with my recipes!
Black Velvet Cake
Ingredients
Black Velvet Cake
- 2 Cups (265g) all purpose flour
- 1 2/3 Cups (340g) granulated sugar
- 2/3 Cup (80g) black cocoa powder* see notes
- 2 tsp baking soda
- 1 tsp baking powder
- 1/2 tsp salt
- 1/2 Cup (120ml) vegetable oil
- 2 large eggs, room temperature
- 1 1/2 tsp pure vanilla extract
- 1 Cup (240ml) full-fat buttermilk*, room temperature DIY recipe in notes
- 1 Cup (240ml) hot coffee or hot water
Dye-Free Black Buttercream
- 2 Cups (452g) unsalted butter, room temperature
- 5 Cups (600g) powdered sugar
- 1 Cup (112g) black cocoa powder* Use The Cocoa Trader brand for best results here
- 4 Tbsp whole milk, room temperature
- 2 tsp pure vanilla extract
- 1/4 tsp salt, or to taste
Instructions
Make the Black Velvet Cake
- Preheat the oven to 350ºF and prepare three 6-inch or two 8-inch cake pans by spraying the sides with cooking spray and fitting the bottoms with a wax paper or parchment cake circle.
- Place all of the dry ingredients into the bowl of a stand mixer and stir on low for 30 seconds to fully combine them. Add the vegetable oil, eggs, vanilla, and buttermilk and mix on low until just combined. With the mixer still on low, add the hot coffee (or hot water) in a slow stream, then turn the mixer to medium and beat until smooth, about 2 minutes. The batter will be very thin.
- Pour into prepared cake pans no more than 2/3 full and bake for 32-36 minutes, until a toothpick inserted comes out clean. Cool completely before frosting.
Make the Black Buttercream
- If making the lambeth design pictured, you'll need slightly more buttercream than this recipe calls for. See the notes for the ingredient amounts. The recipe as written makes enough to fill, frost, and decorate with a swirl border on top or a couple shell borders and simple piping.
- In a stand mixer fitted with a paddle attachment, whip the butter on medium speed until creamy and light in color, about 4 minutes. Scrape down the bowl and paddle, then add half of the powdered sugar. Mix on low speed until just incorporated, then add the rest of the powdered sugar. With the mixer still in the off position, sift in the black cocoa powder and add the vanilla, milk, and salt. Mix on low until all ingredients are thoroughly combined, about 2 minutes, scraping down the bowl and paddle as needed.
- The buttercream will look dark brown at this point, but the color will darken significantly over the next several hours. If you need it darkened faster, an immersion blender works great and darkens the buttercream to black in minutes. See the recipe notes for storage instructions if you're not planning on frosting the cake the same day.
Assembly
- Once the cake layers have cooled completely, level them to your desired height. Fill and stack the layers with black buttercream, then crumb coat the cake with more black buttercream. Refrigerate the crumb coated cake for 20-30 minutes to let the frosting firm up.
- To create the design pictured, use the black buttercream to create a smooth finish on the cake, then refrigerate it for at least 30 minutes. Use the rest of the black buttercream to create lambeth piping (feel free to use this tutorial as guidance). Accent the lambeth piping with round black sprinkles where desired.
Notes
- The Black Velvet Cake layers can be made ahead and stored at room temperature, covered tightly in plastic wrap, for up to two days. Alternatively, you can cover with plastic wrap and store in the freezer for up to two months before thawing to room temperature.
- The Black Buttercream can be made ahead and stored in an airtight container at room temperature for up to 1 day. Alternatively, you can store it in an airtight container in the refrigerator for up to two weeks. When you’re ready to use it, bring it back to room temperature and rewhip with your stand mixer to bring back to frosting consistency.

Hi there, I’ve really been enjoying your guides! Do you think this crumb is sturdy enough for a tiered cake with 3 layers in each tier? Also, do you have any guides for adjusting recipes to different pan sizes? Thanks so much for all of the knowledge you share with your readers!
Hi Bri! Yes, this cake is totally sturdy enough for a tiered cake with three layers in each tier as long as you properly dowel between tiers. That’s going to look so cool!! I do have this guide on how much cake batter you need per pan size: https://sugarandsparrow.com/cake-serving-guide/ hope that helps!
Whitney,
I have been tasked with making a zebra swirl cake. Do you think I could make your bakery style white cake and swirl in a few dollops of the black velvet cake batter? I normally wouldn’t have hesitated, but I am curious because the one recipe uses cake flour and the other uses regular flour.
Hi Danielle! That’s a good question. The black velvet cake batter is going to be denser in weight so instead I would try just making the white cake batter, dividing it in half, and whisking about 1/3 cup of Dutch-processed cocoa powder or 1/3 Cup of black cocoa powder into the white cake batter. This is definitely an experiment though, I haven’t tested it. I do have this marble cake recipe that has been tested: https://sugarandsparrow.com/marble-cake-recipe/ Here’s the technique to combine the cake batters in the pans for the zebra effect instead of marble: https://www.tiktok.com/@sugarandsparrow/video/7176868108248829226
How can I make this a 3-layer using 9-inch pans? Would doubling the recipe work?
Hi Monica! Doubling the recipe should be perfect for three 9-inch cake pans. Just be sure to fill the pans no more than 2/3 full. Enjoy!
Made this for my best friend’s birthday. Best chocolate cake I’ve made! The black frosting is so striking and tastes so good!
Yay, Theresa! That makes me so happy!
Is it okay to use cake flour instead of all-purpose flour?
Hi Jazz! In this recipe, cake flour doesn’t help structure the cake as well as all-purpose flour. I don’t recommend substituting it here.
How would you modify this recipe for cupcakes, and what would you use as a red filling?
Hi Cat! I have a recipe for black velvet cupcakes here (same recipe, just written for cupcakes): https://sugarandsparrow.com/black-velvet-cupcakes/
For a red filling you could do a strawberry or raspberry filling like this: https://sugarandsparrow.com/raspberry-cake-filling/ hope that helps!
Made for a friend’s gothic themed birthday. It was a HUGE HIT! Everyone loved it. Cake was (and still is 3 days later) super moist. Tastes like a double chocolate cake with an Oreo cookie vibe to it because of the dark cocoa. I used dark (not extra) for both cake and icing and it was delicious.
Cooked in two 8” pans for 36 mins. I also added a red white chocolate ganache on top to create a “blood” drip effect and then more icing on top. I also appreciate that the measurements for the icing were accurate and appropriate for the size of the cake-a lot of others recipes call for far too much that ends up being left over.
10/10 would absolutely make again!!!
Yay, Merreck! I’m so happy to hear this cake was a hit.
Buenas como puedo seguirteo dnd puedo ver o leer tus recetas,segundo como puedo ganache rojo pa decorar lla tarta pa q parezca sangre y puedo suprimir el suero gracias
Hi Eva! All of my recipes can be found on this blog. You’ll see a dropdown menu in the upper left corner that says “Recipes” and you can choose different categories there or see them all here: https://sugarandsparrow.com/category/recipes/ for red ganache, I would use this white chocolate ganache recipe and tint it with red food coloring: https://sugarandsparrow.com/white-chocolate-ganache-drip-recipe/
This recipe is devine! I pretty much never bake and have never done piping before but it turned out awesome (well not my piping ability ). It’s so moist and not too sweet. Thank you for the recipe!!
Yay, Alana! So happy you love this one as much as I do!